

Photos Of The Crew & Life Aboard.
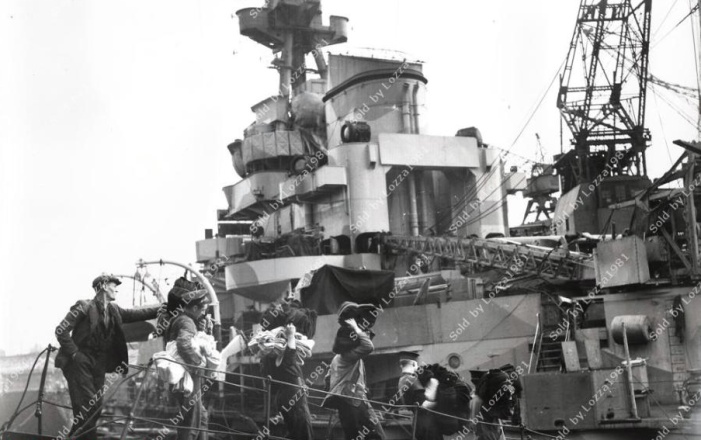
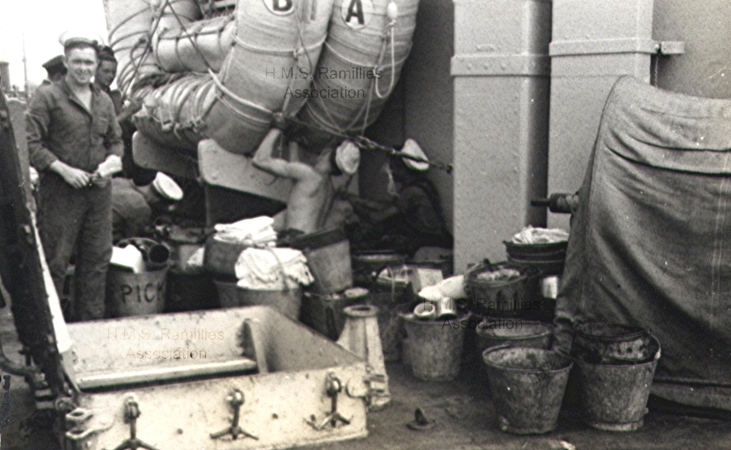
Loading Clothing Supplies
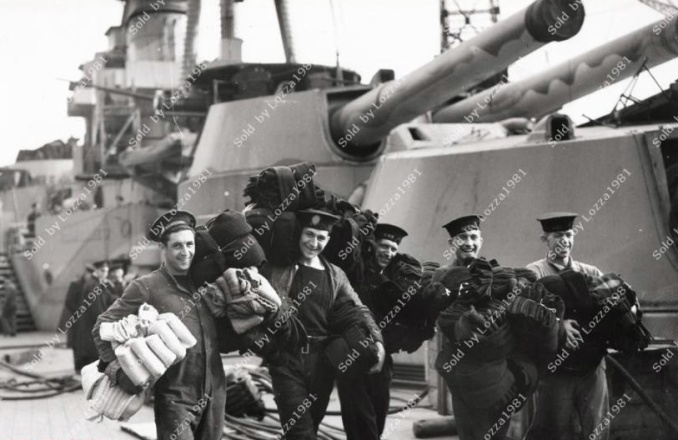
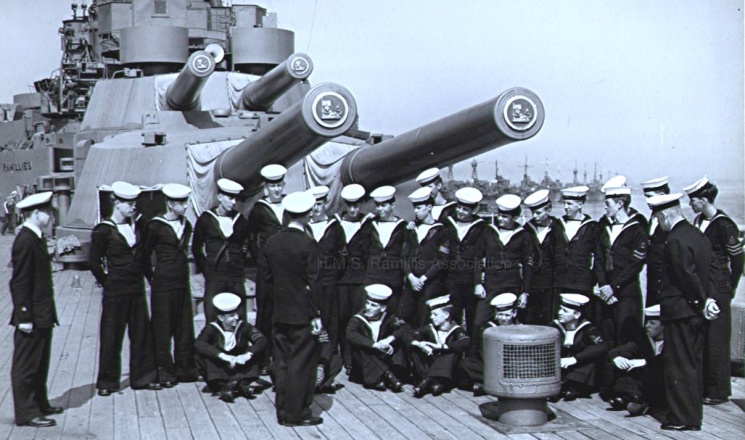
More Stores - Recognise any one?
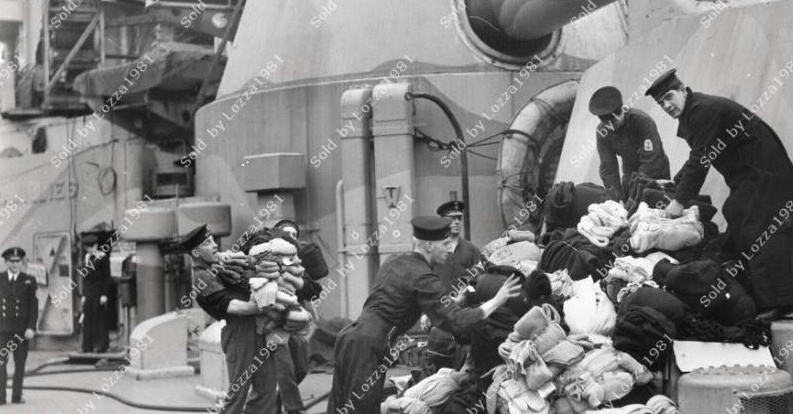
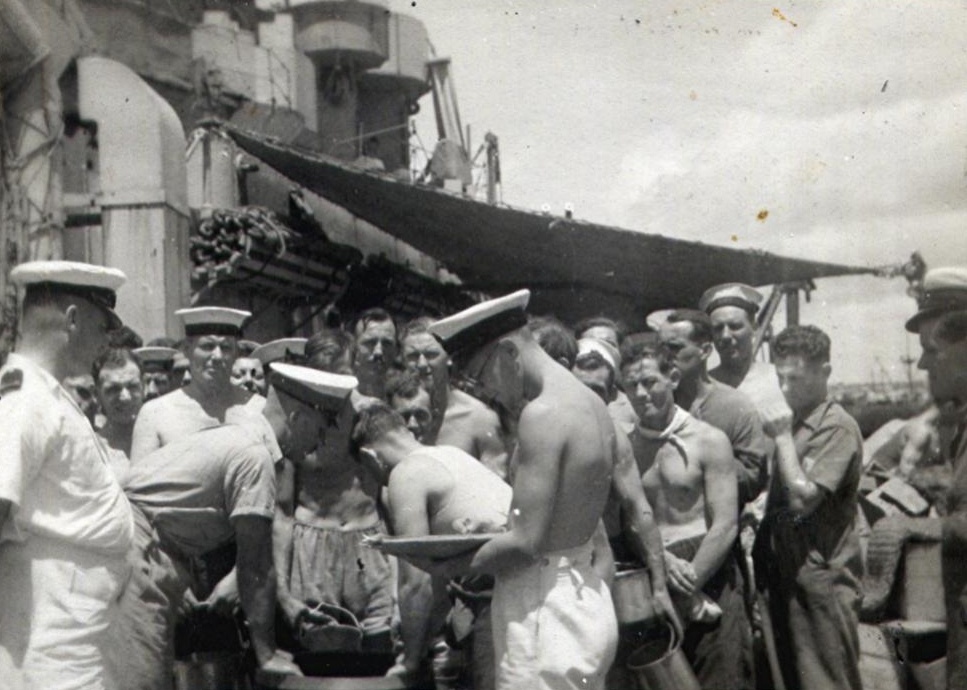
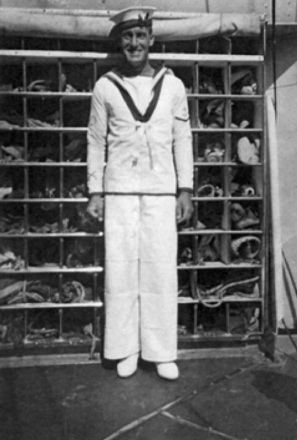
Stocking Up On Sea Boot Socks
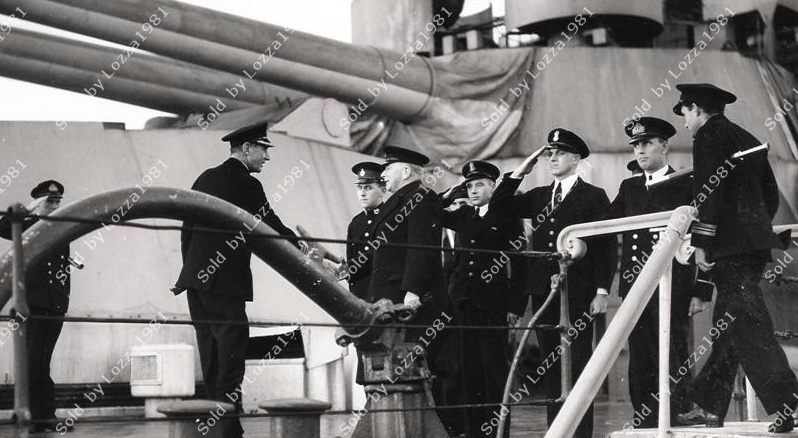
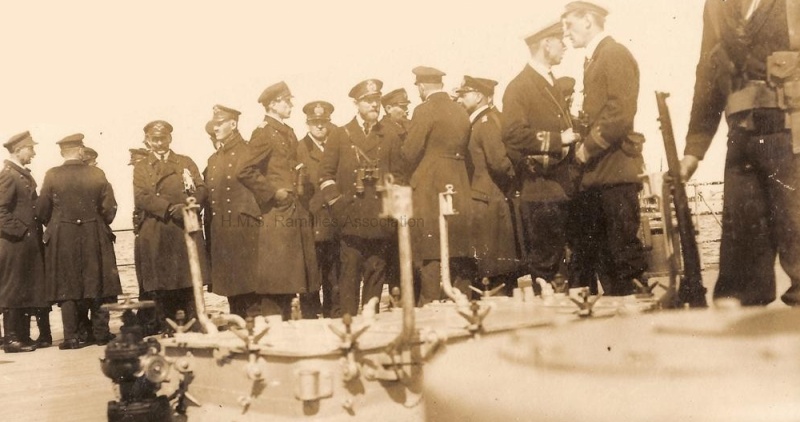
Captain Middleton shaking hands with First Lord Of The Admiralty
Winston Churchill, and the son of the president of the USA, Ensign Franklin D. Roosevelt Jnr. - 1942
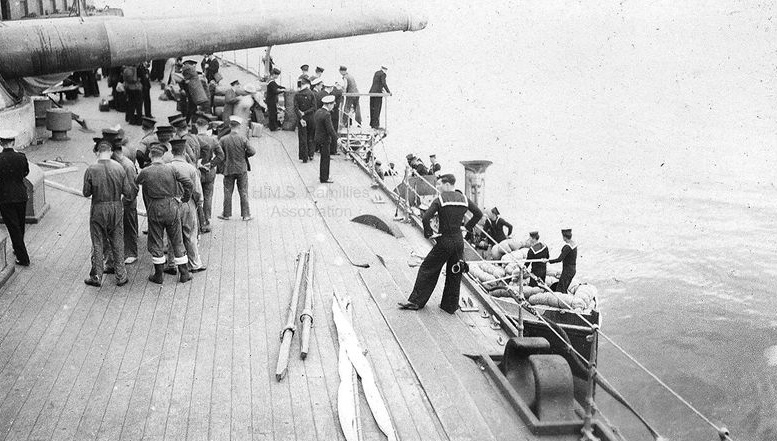
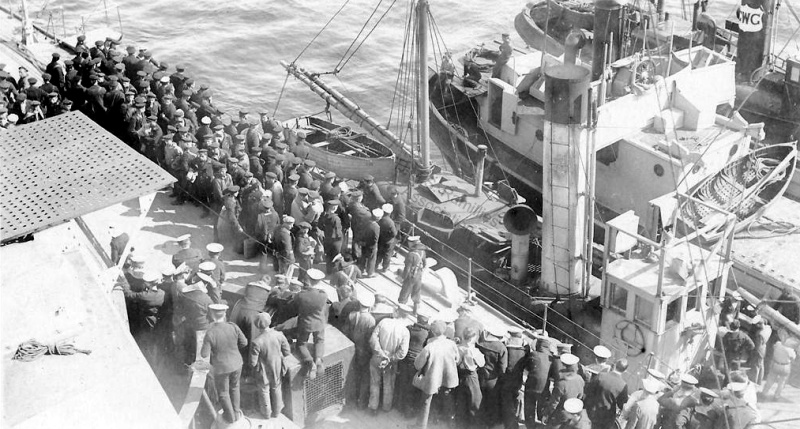
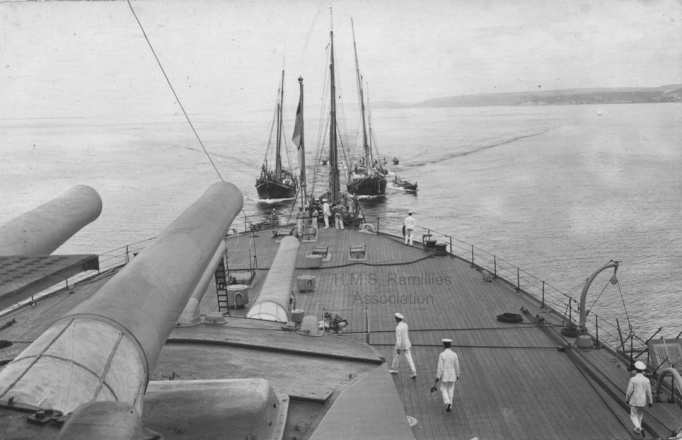
Shore Party - Steam Pinnace Alongside
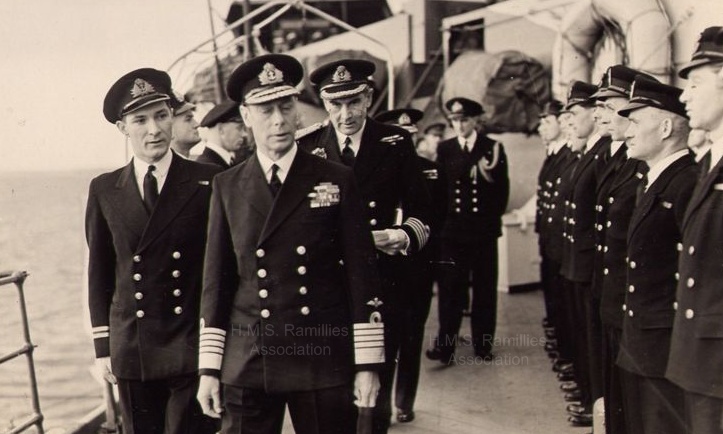
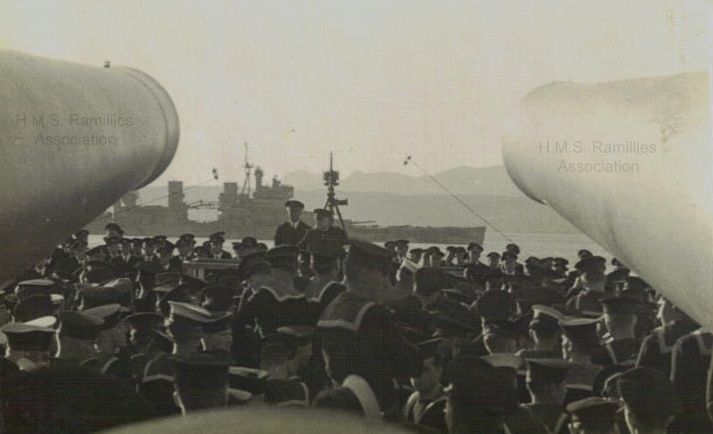
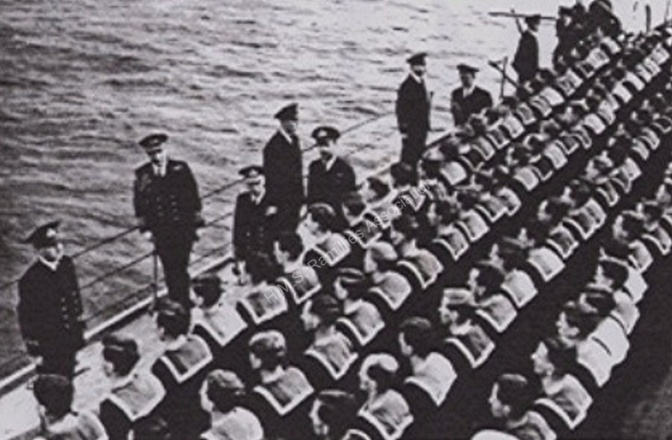
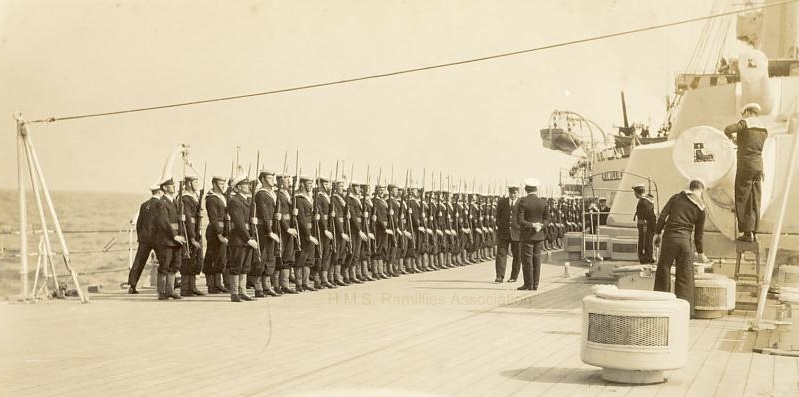
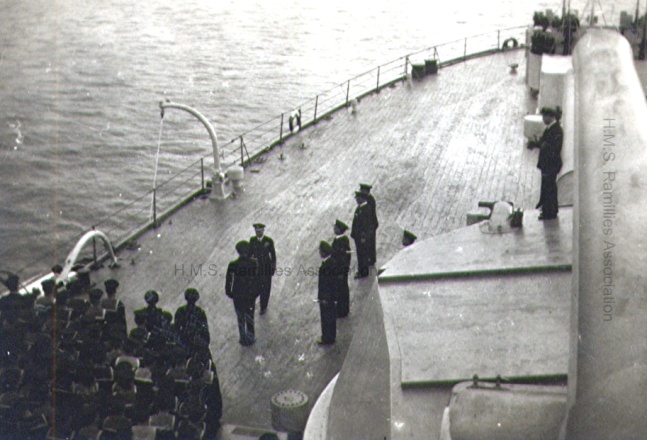
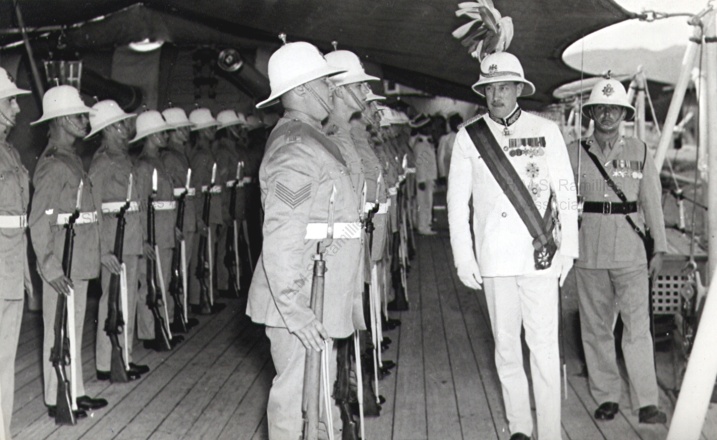
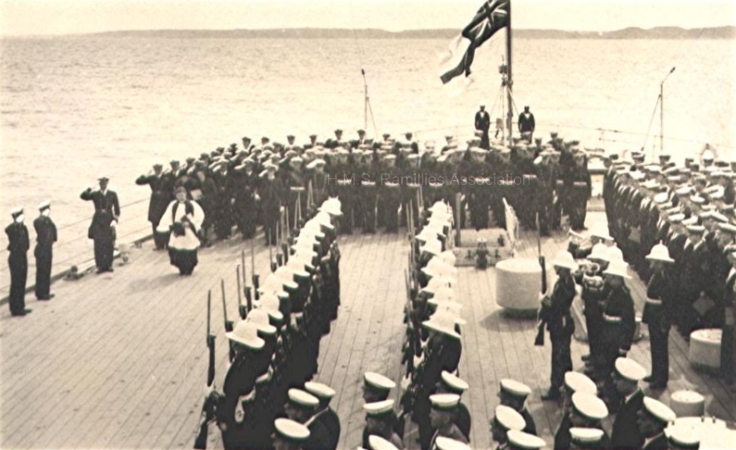
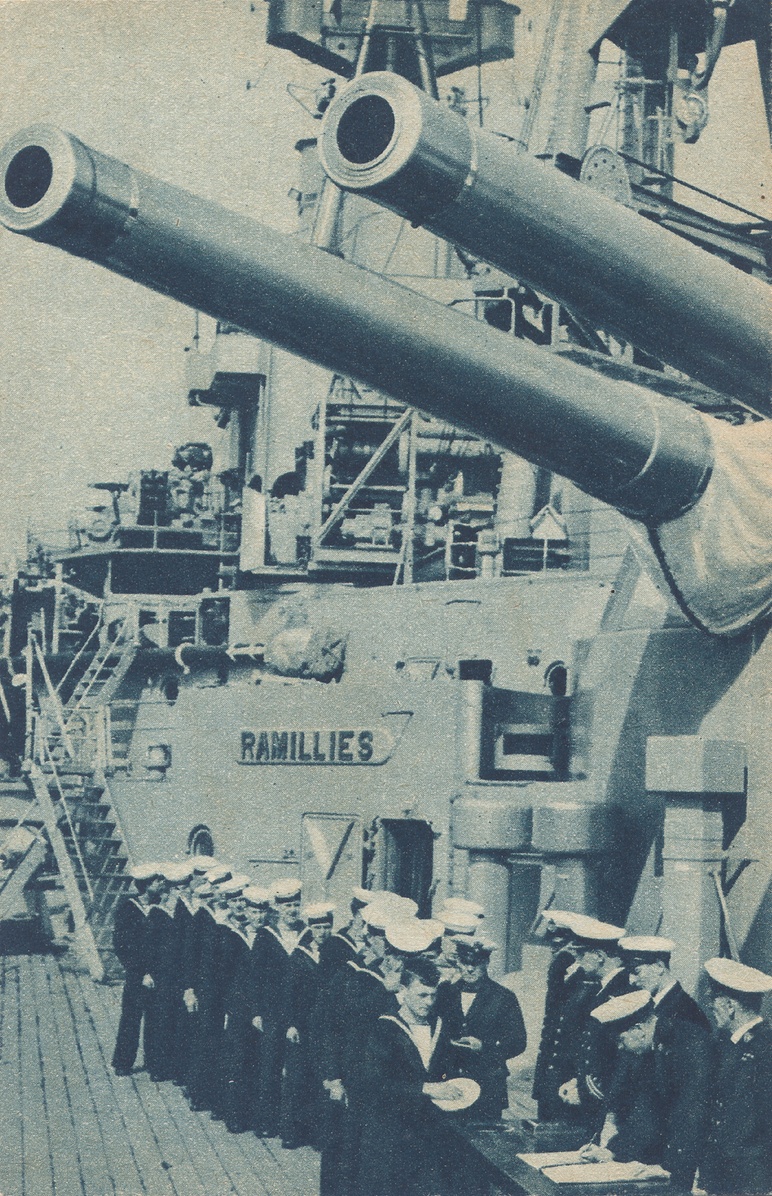
H.M.The King, inspecting Officers and Crew, April or May 1944, at Scapa Flow
shortly before she sailed for the Normandy Invasion
shortly before she sailed for the Normandy Invasion
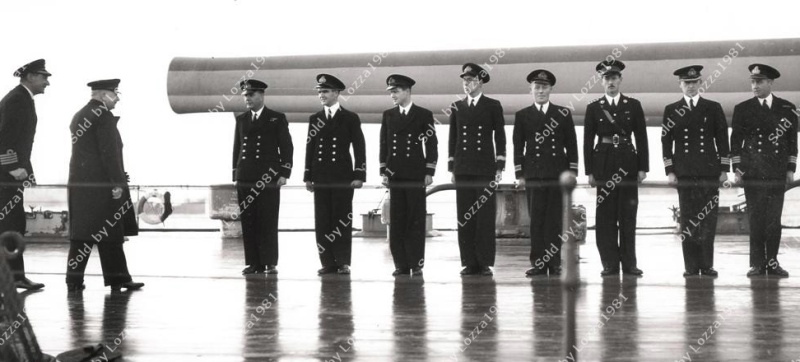
Captain Middleton escorting, the First Lord of the Admiralty A.V. Alexander, on inspection
of the ships' officers.
of the ships' officers.
RM 4inch gun crew with Charles Parsons 1940s
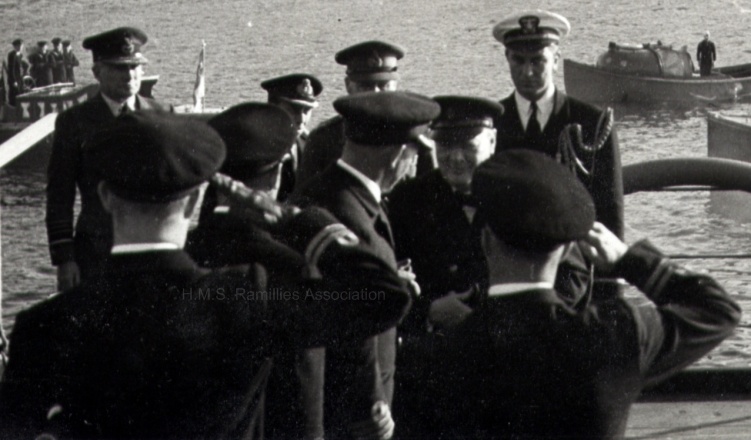
Winston Churchill on H.M.S. Ramillies - 1941
H.M.S. Ramillies Close Up Of Funnel and Deck
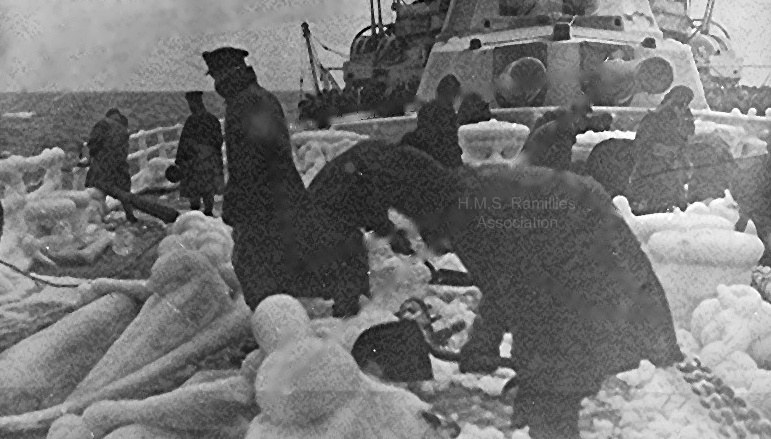
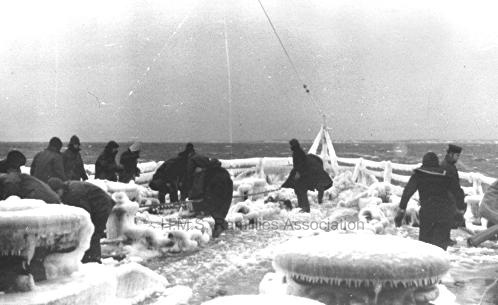
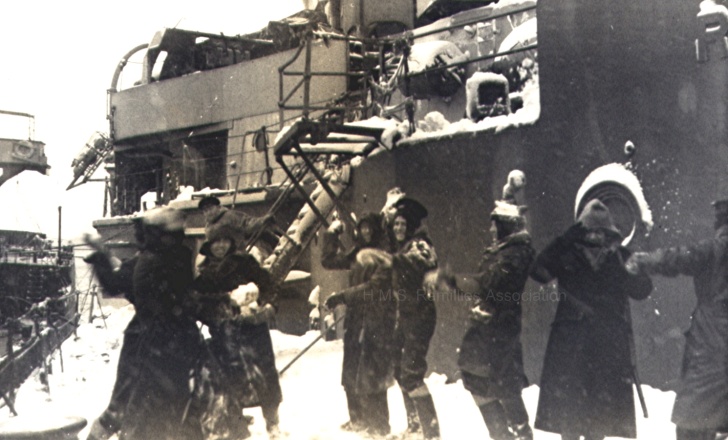
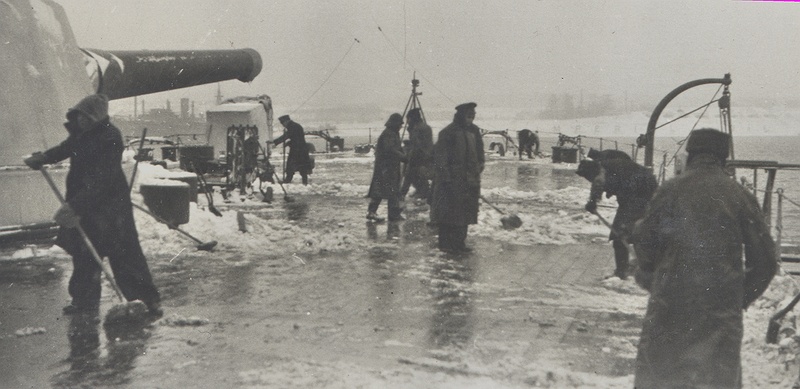
Removing Ice From The Decks Of H.M.S. Ramillies On Route To Newfoundland
Liberty Ships - 1920s
Prisoners of War 1917/1918
Used By Permission Of Laurence Batchelor
Used By Permission Of Laurence Batchelor
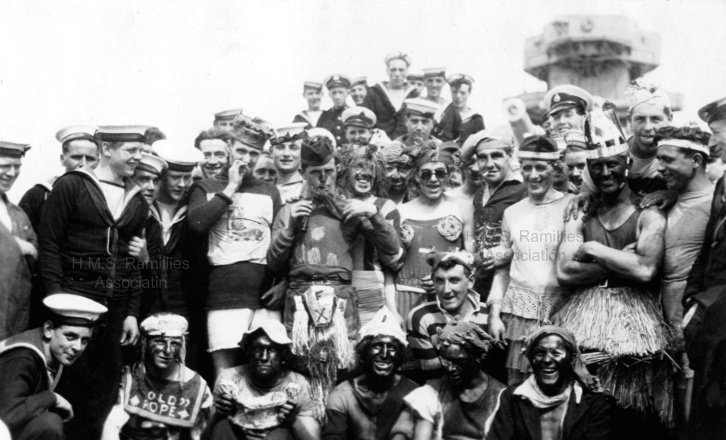
Crossing the Equator Ceremony, 1940s
Turkish Refugees From Smyrna Approaching H.M.S. Ramillies - 1920s
Canadian Cadets Aboard H.M.S. Ramillies - August 1947
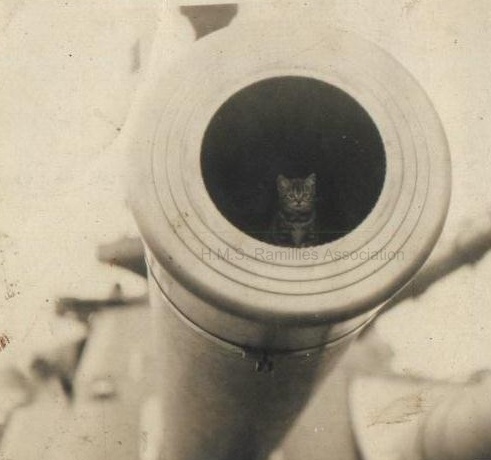
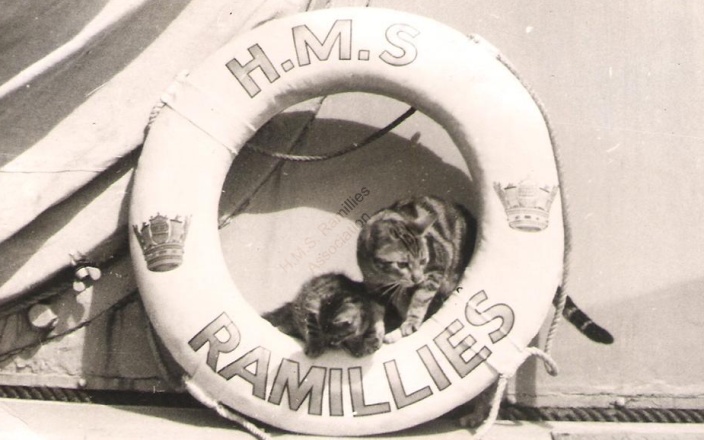
Ships Mascot pre WW2, anyone know its name?
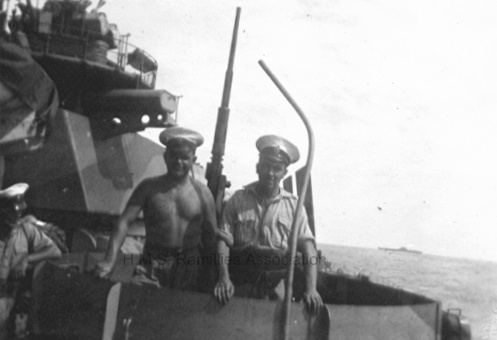
Royal Marine Ack-Ack crew
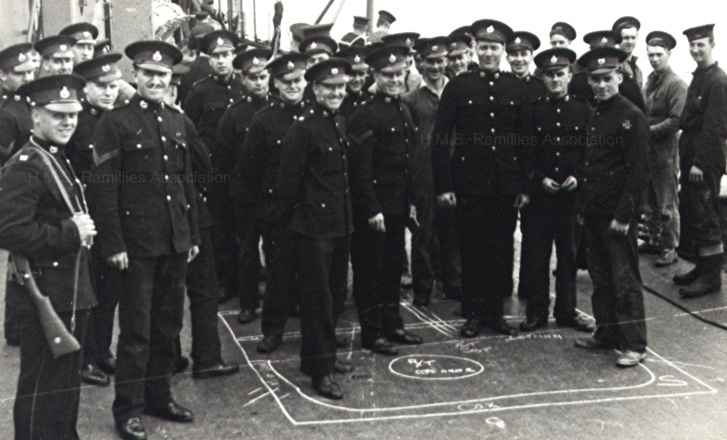
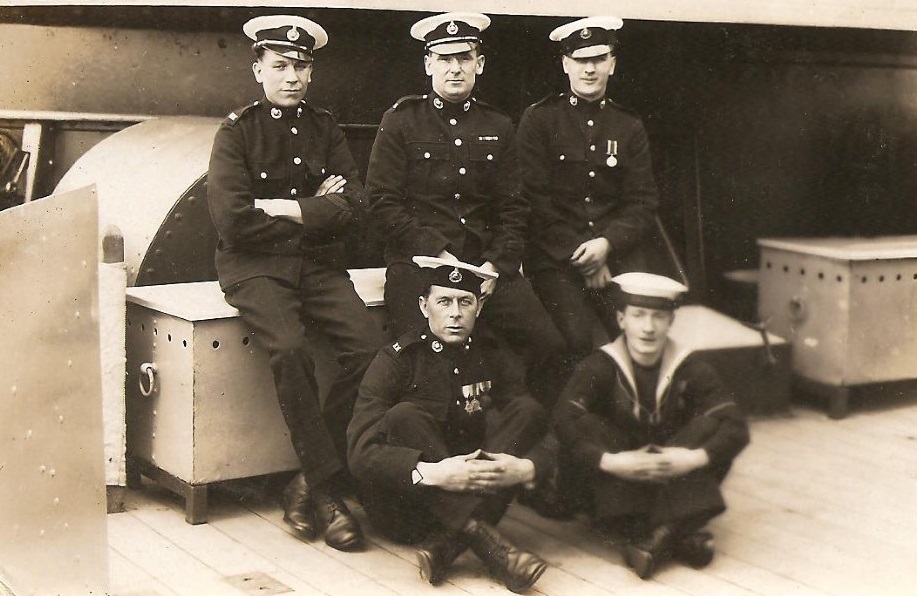
Royal Marines aboard H.M.S. Ramillies in Wartime.
Recognise anyone? Please let me know!
Recognise anyone? Please let me know!
Royal Marines aboard H.M.S. Ramillies in Wartime. Recognise anyone? Please let me know!

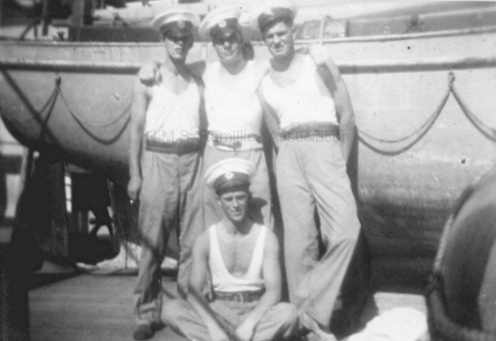
Siesta Time Med,1940s
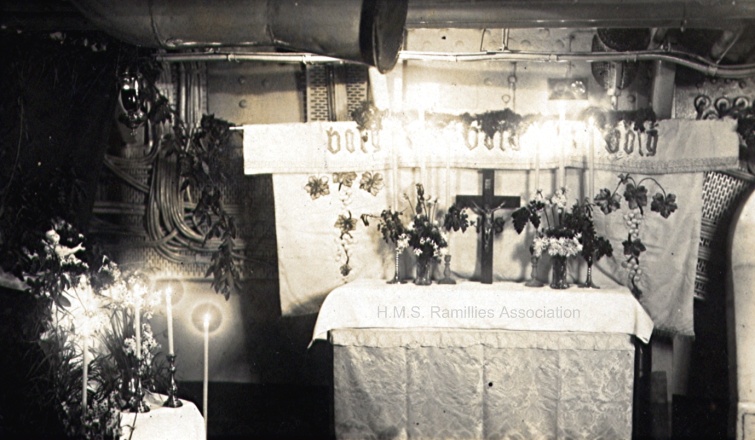
H.M.S. Ramillies Christmas Chapel - 1929
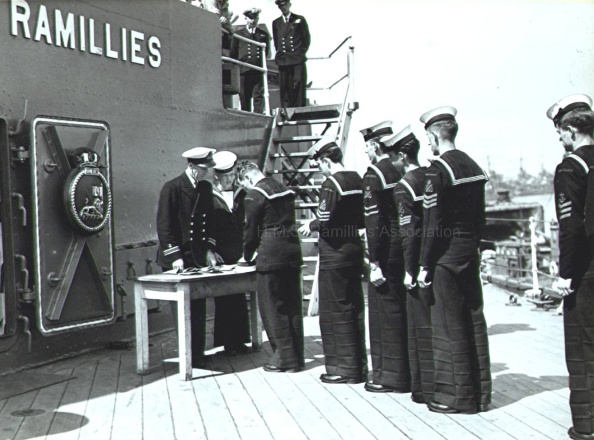
Canadian Cadets collecting pay.
August 1947
August 1947
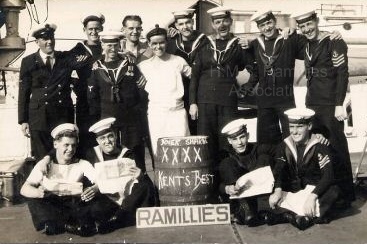
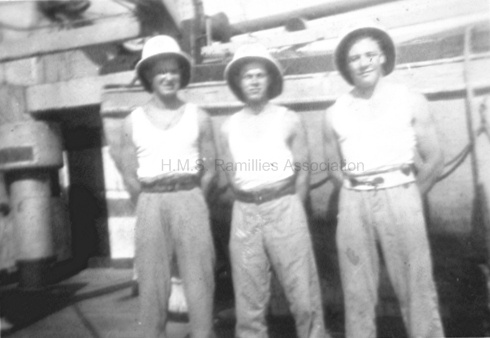
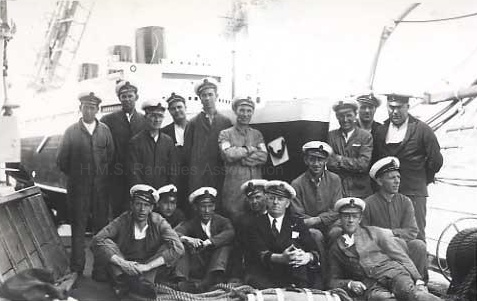
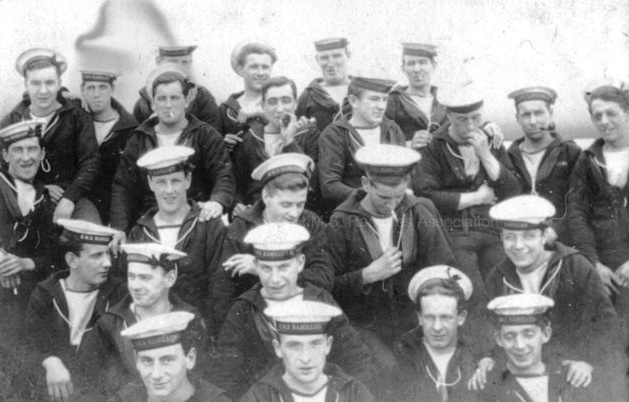
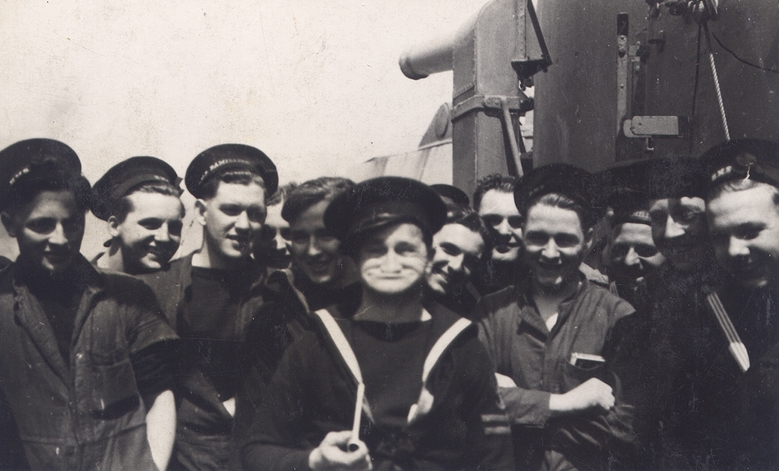
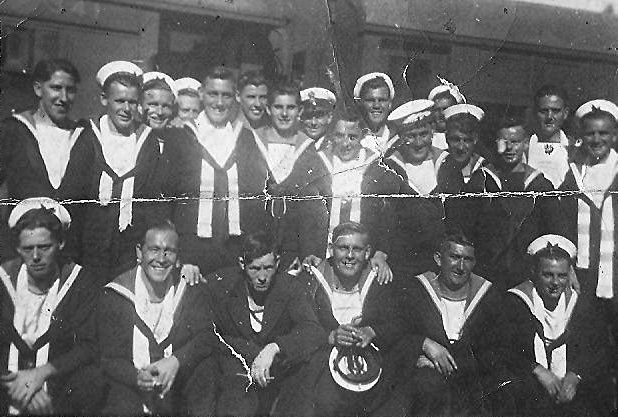
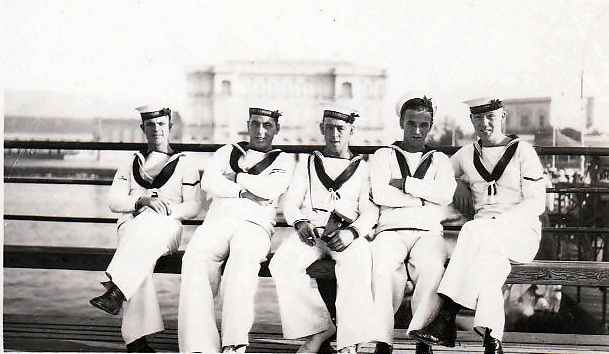
Some crew from H.M.S. Ramillies
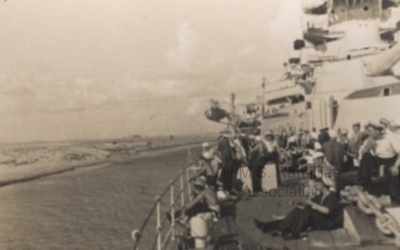
H.M.S. Ramillies in the Suez Canal
Memorial Service aboard Ramillies for the Submarine K5 - 1921.
One of the many K Class coal fired submarines to tragically sink
One of the many K Class coal fired submarines to tragically sink

Admiral of the Fleet
SIR DUDLEY POUND, and Captain REED, aboard H.M.S. RAMILLIES at ICELAND 1941
SIR DUDLEY POUND, and Captain REED, aboard H.M.S. RAMILLIES at ICELAND 1941
Ramillies NAMED Crew,with large model of the Liner, Queen Mary, Malta Jubillee Celebrations,August 1935
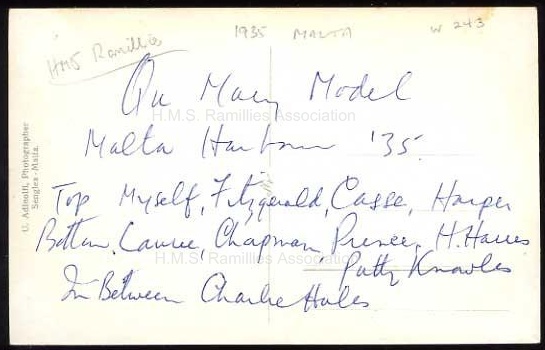
Ramillies NAMED Crew,with large model of the Liner, Queen Mary, Malta Jubillee Celebrations,August 1935
Can anyone Identify who this is, and when it was taken please?
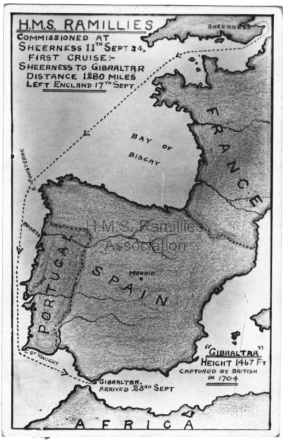
H.M.S. Ramillies autumn cruise to Gibraltar - September 1934
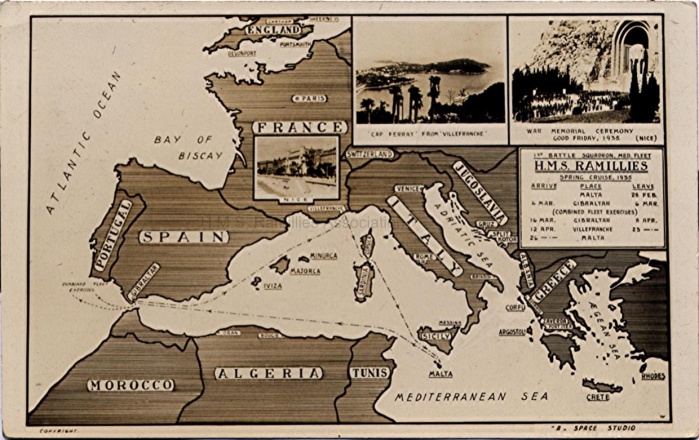
H.M.S. Ramillies Spring Cruise 1935
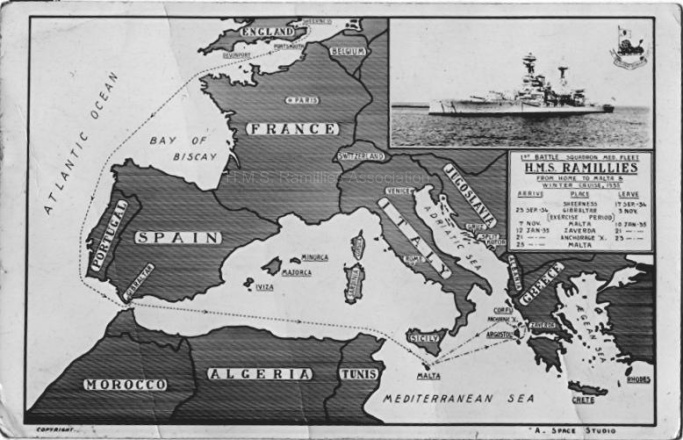
H.M.S. Ramillies winter cruise to Malta Sep 1934-Jan 1935
Iced up Nova Scotia, 1941

H.M.S. Ramillies and Australian/New Zealand Convoy
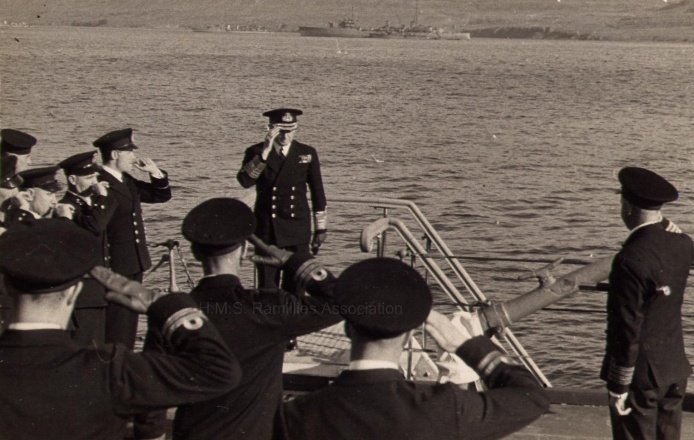
The Kings visit to H.M.S. Ramillies
Photo supplied by Mrs B.Vickerstaff
Photo supplied by Mrs B.Vickerstaff
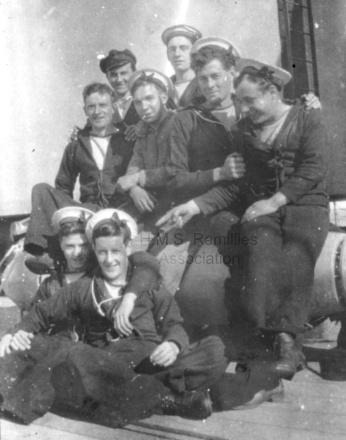
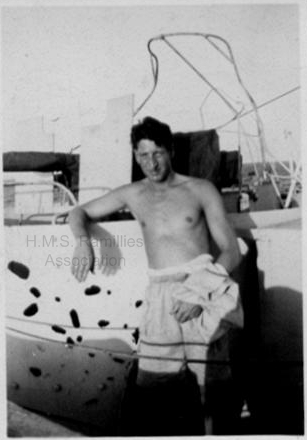
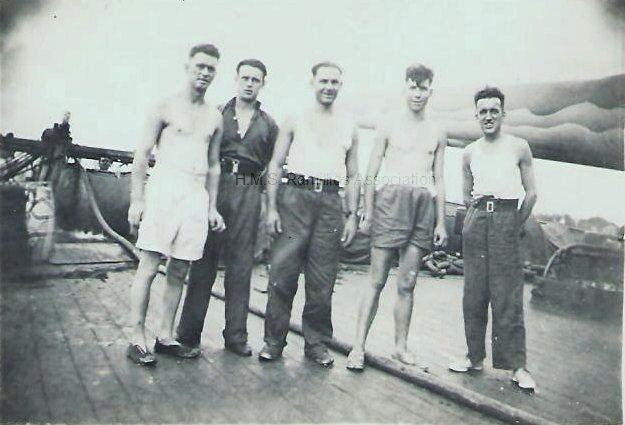
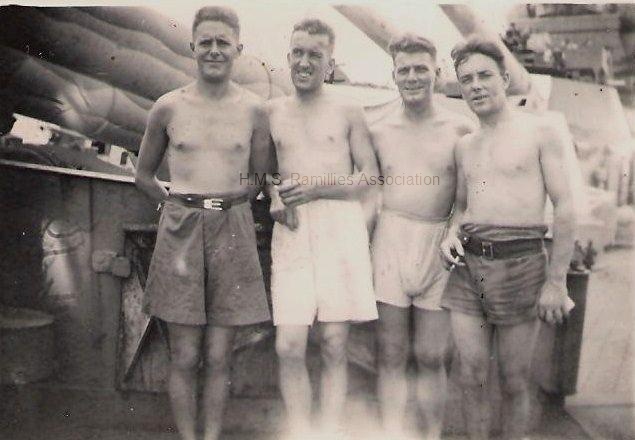
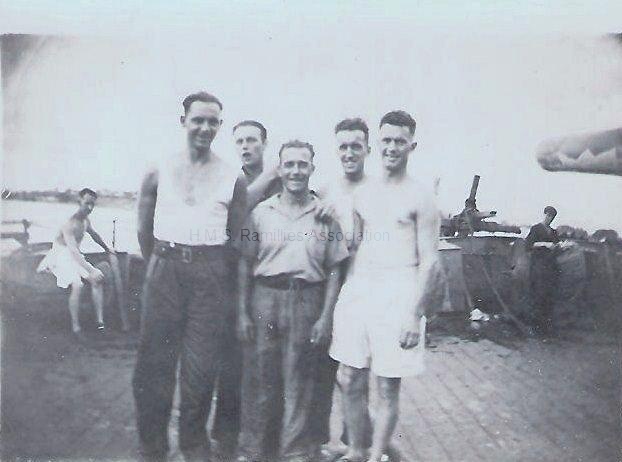
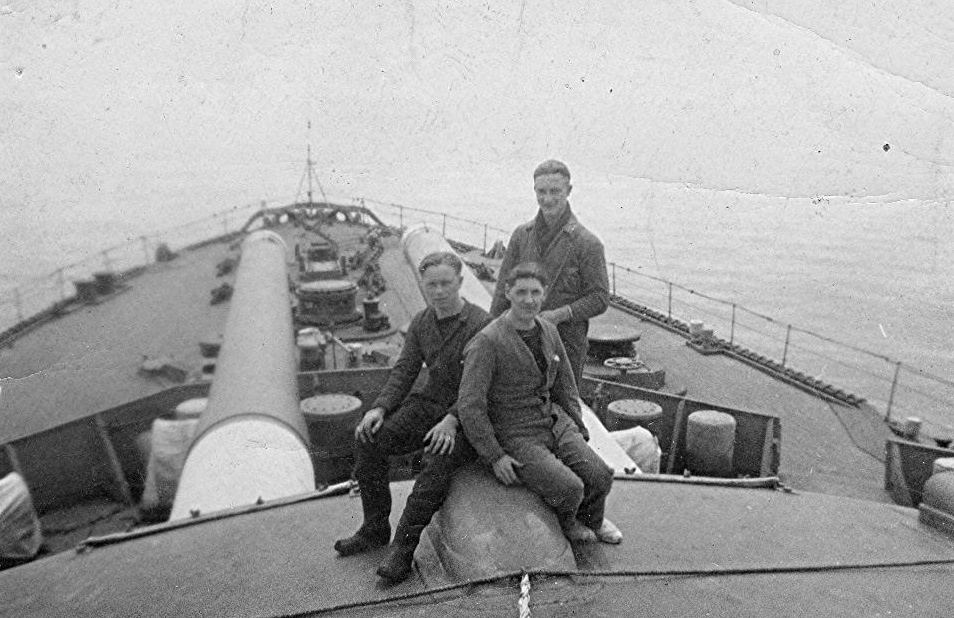
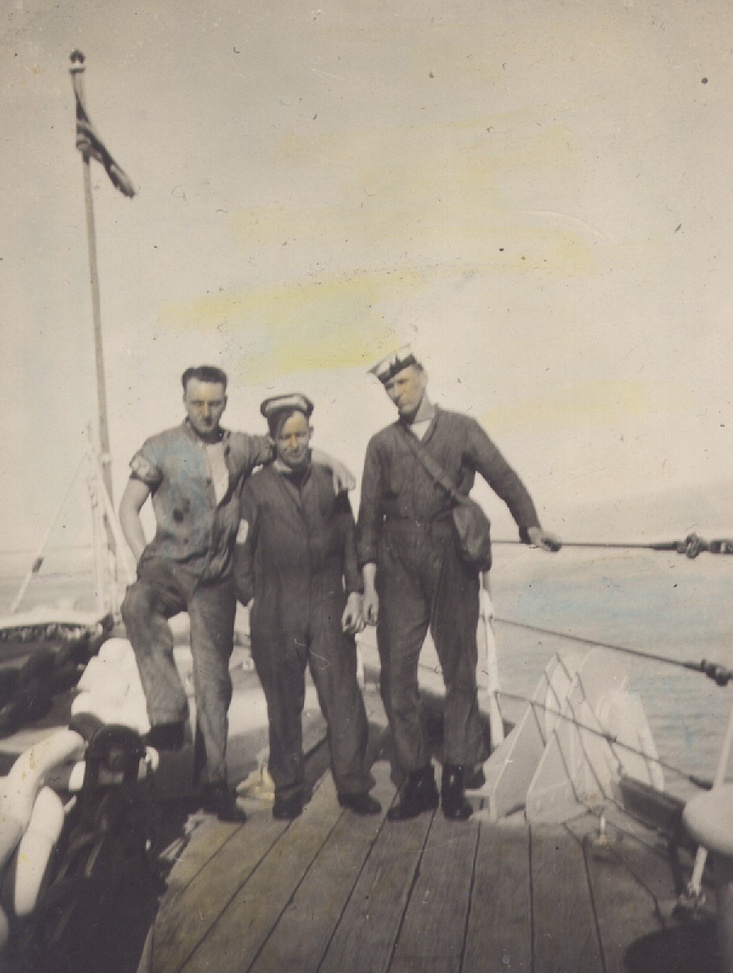
"Off Duty Onboard H.M.S. Ramillies - Halifax Nova Scotia 1941
Thought to be in the 1920s/30s.
Courtesy of R.Haley.
Courtesy of R.Haley.
Thought to be in the 1920s/30s.
Courtesy of R.Haley.
Courtesy of R.Haley.
Crew lined up for inspection Cannes - 1938
Ships cat, Able Seaman Minnie
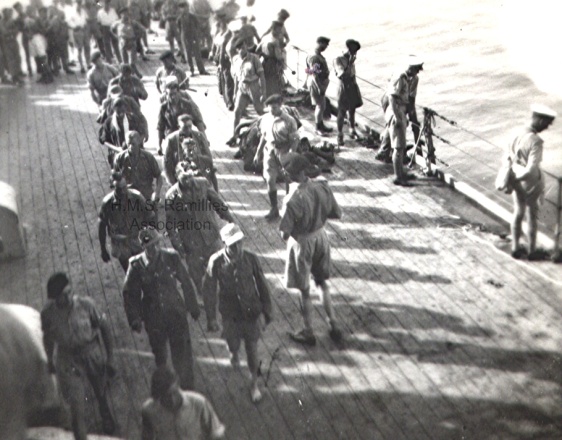
13 German POWs on H.M.S. Ramillies after South of France Invasion Aug 1944
Photo Courtesy of S/M Fred Smith
Photo Courtesy of S/M Fred Smith
13 German POWs on H.M.S. Ramillies after South of France Invasion Aug 1944
Photo Courtesy of S/M Fred Smith
Photo Courtesy of S/M Fred Smith
H.M. The King aboard Ramillies before D-Day May 1944
Photo Courtesy of S/M Fred Smith
Photo Courtesy of S/M Fred Smith
H.M.S. Ramillies crew playing bingo Mediterranean Aug 1944
Photo Courtesy of S/M Fred Smith
Photo Courtesy of S/M Fred Smith
Royal Marines On Inspection

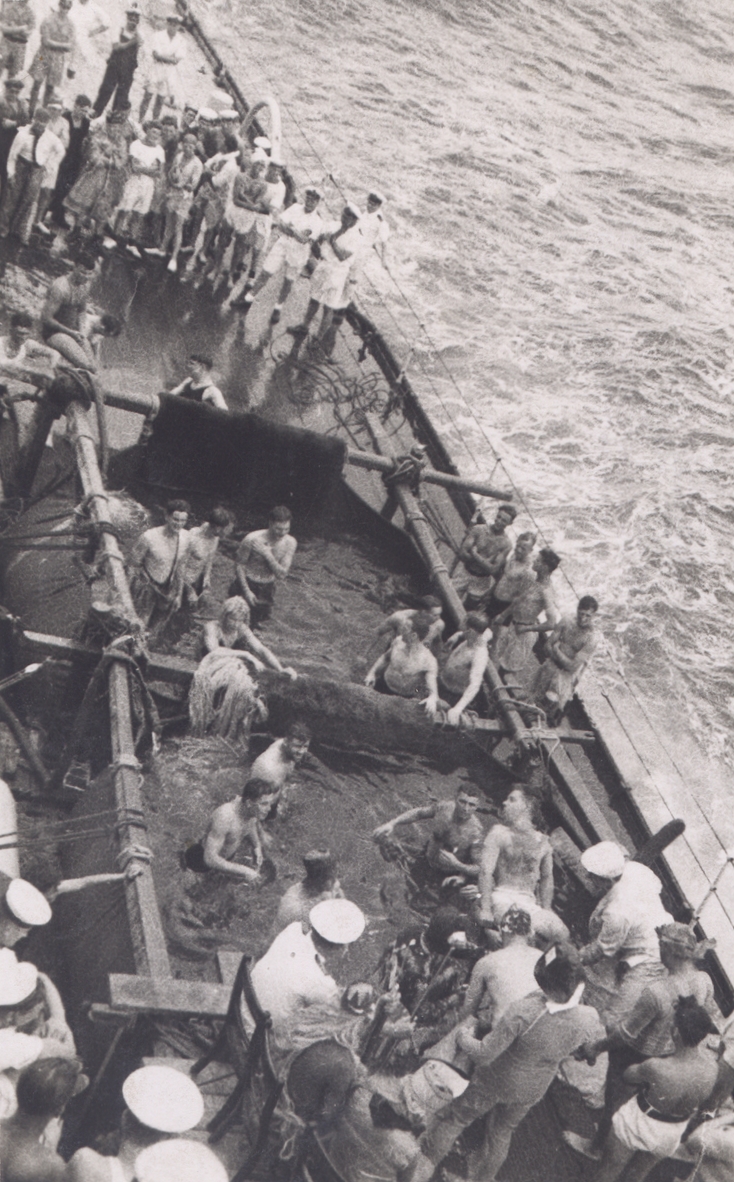
An audience for crossing the line ceremony
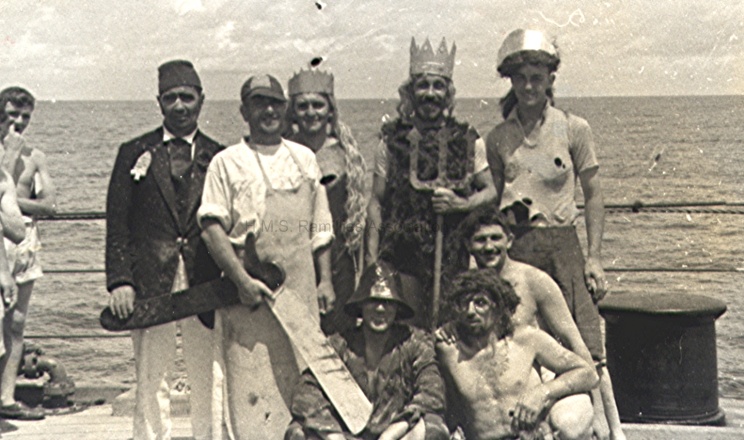
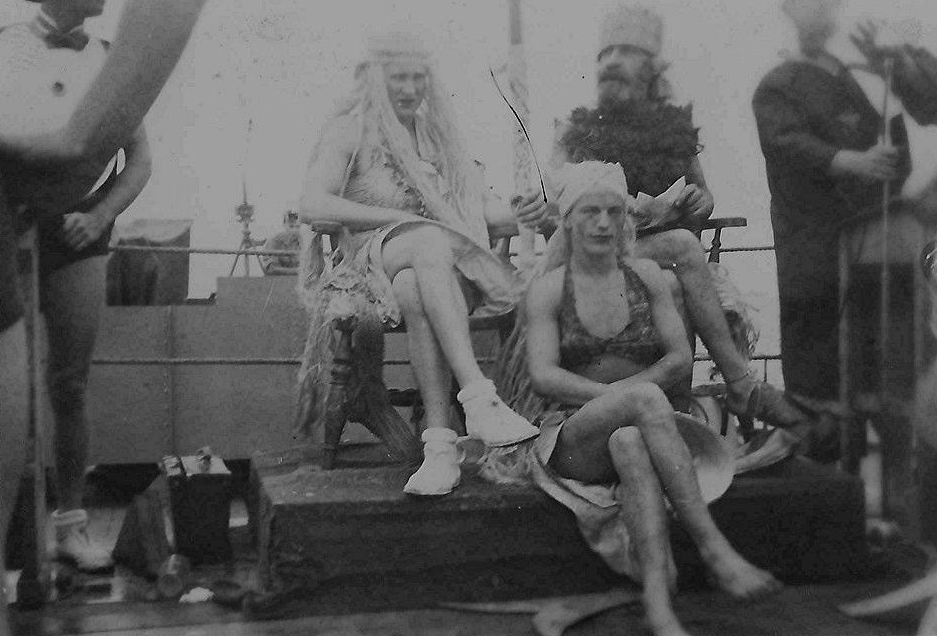
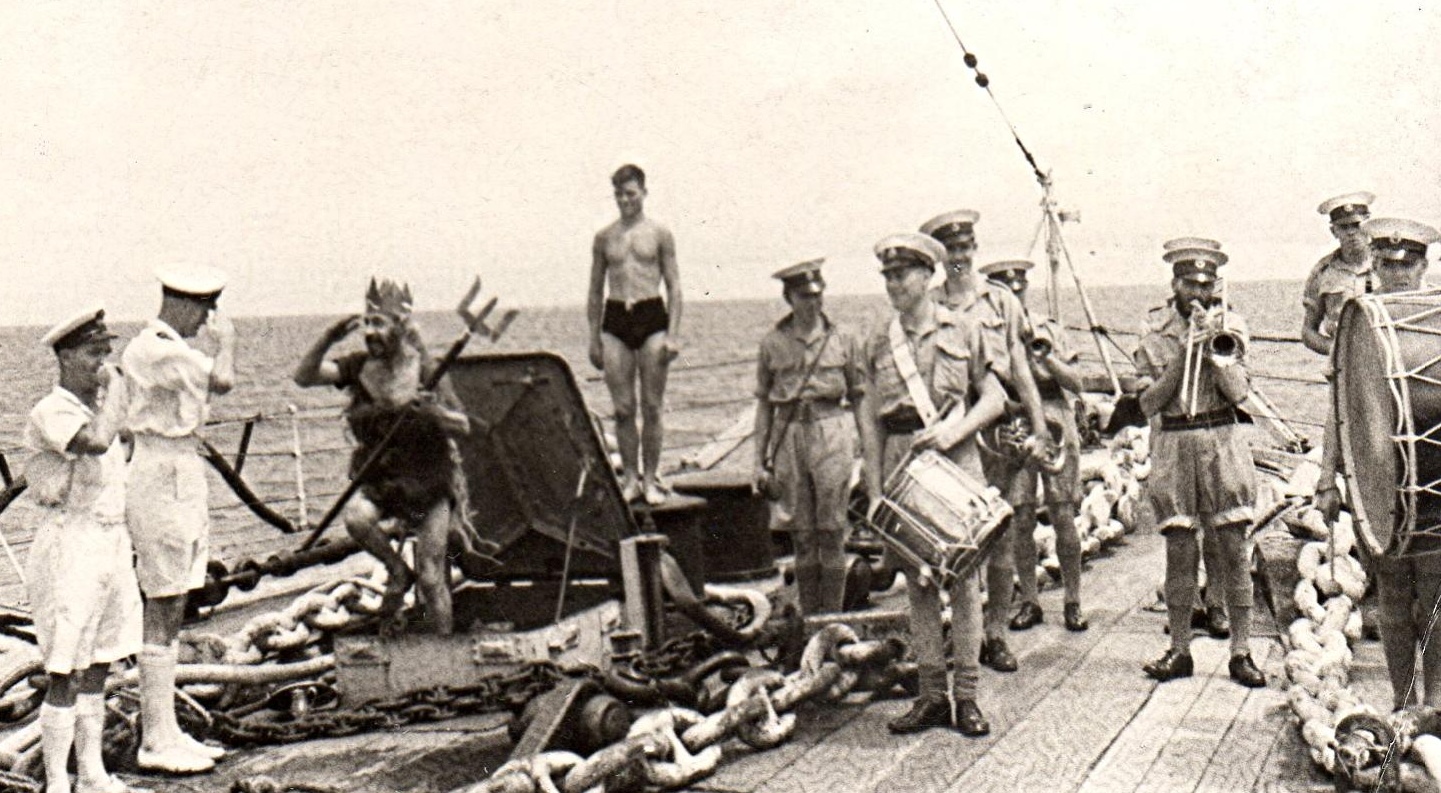
King Neptune & Bears,Crossing the Line Ceremony
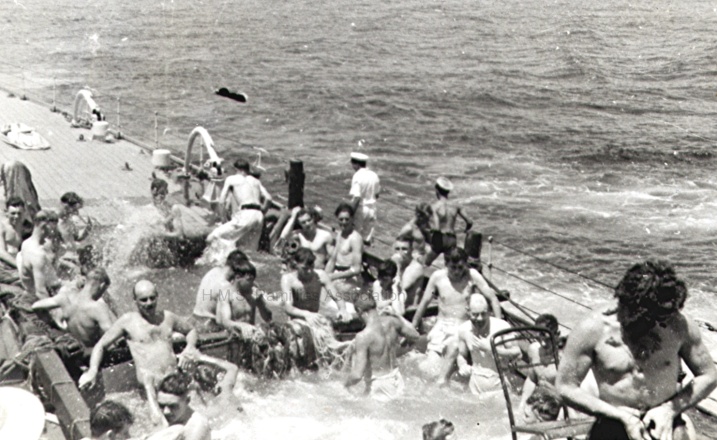
Awaiting the next victim, Crossing the Line Ceremony
Royal Marines onboard H.M.S. Ramillies

Crossing the Line Ceremony, held at Freemantle Australia - December 1939.
Photo supplied by the Late S/M Ken Williams
Photo supplied by the Late S/M Ken Williams
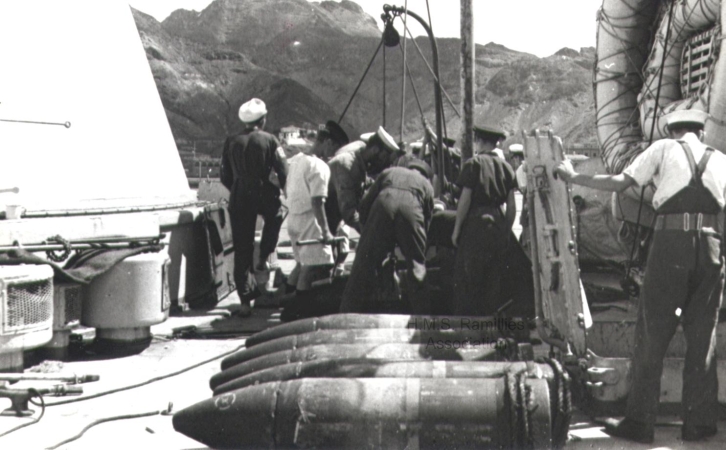
Stowing 15 inch Shells, weighing 1 ton each. Aden, Date Unknown
What the Captain doesn't see, on Saturday Rounds!
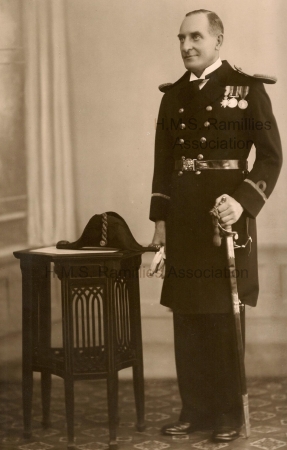
Photo of Gunner G.H.Warren, who served on H.M.S. Ramillies in the 1920s
Picture courtesy of Mrs E Baxter(his daughter).
Picture courtesy of Mrs E Baxter(his daughter).
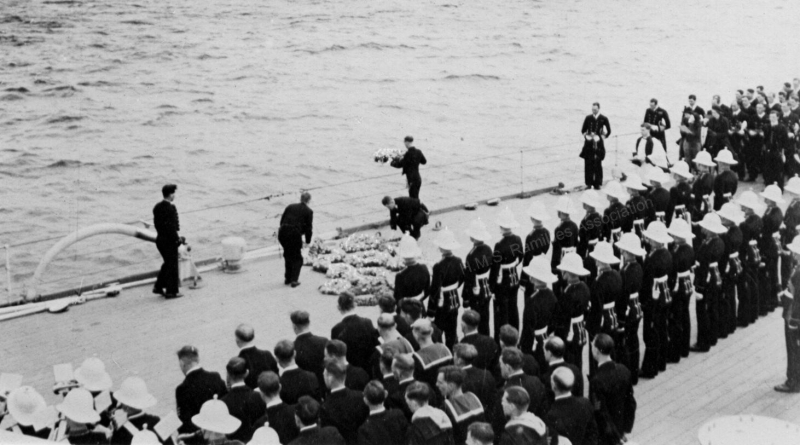
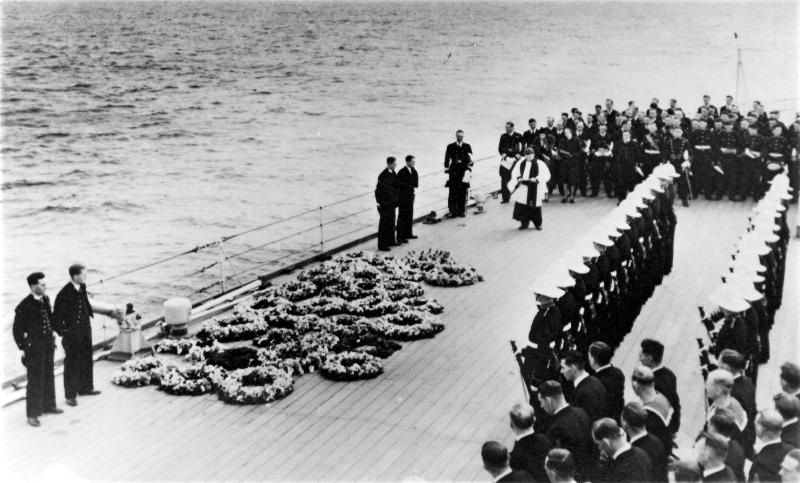
Wreath Laying Service, thought to be to the sunken ROYAL OAK, at Scapa.
Picture 1
Picture 1

Funeral Service, for crew member killed by accident, of a boat davit coming out of its socket.
Near Gozo, Mediterranean 1939
Near Gozo, Mediterranean 1939
Wreath Laying Memorial Service, thought to be for the sunken ROYAL OAK at Scapa.
Picture 3
Picture 3
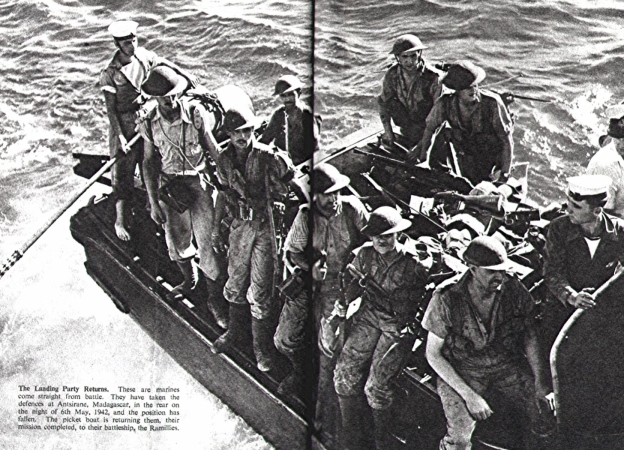
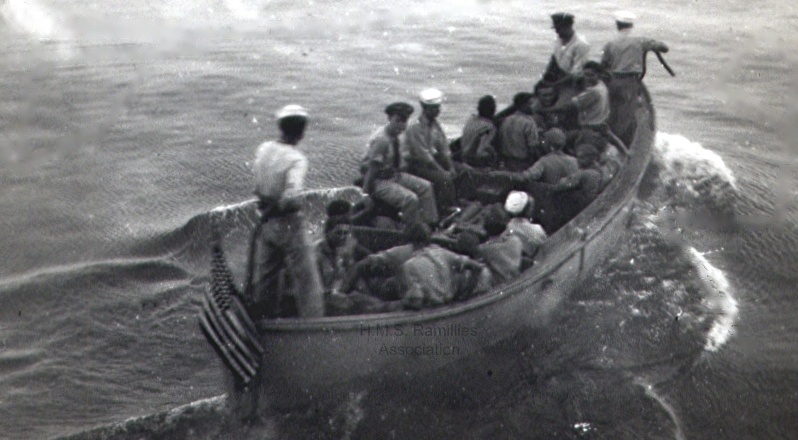
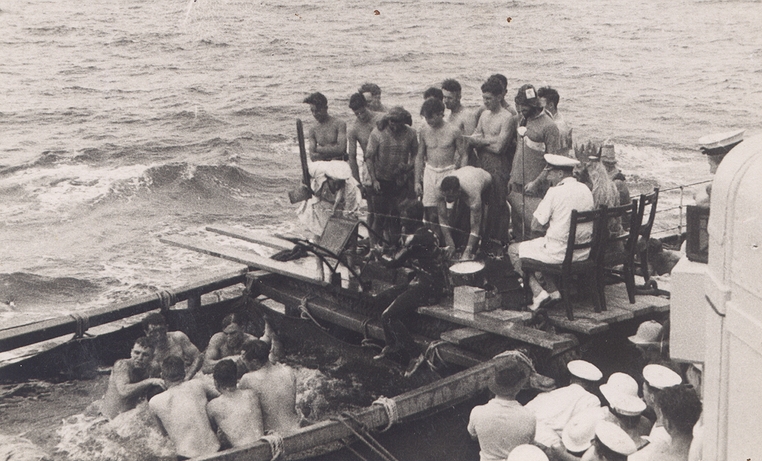
H.M.S. Ramillies' Royal Marines party, returning to the ship, after a successful sortie, at Diego Saurez , Madagascar.
Operation Ironclad 1942. Photo from a booklet published by H.M.S.O.
Operation Ironclad 1942. Photo from a booklet published by H.M.S.O.
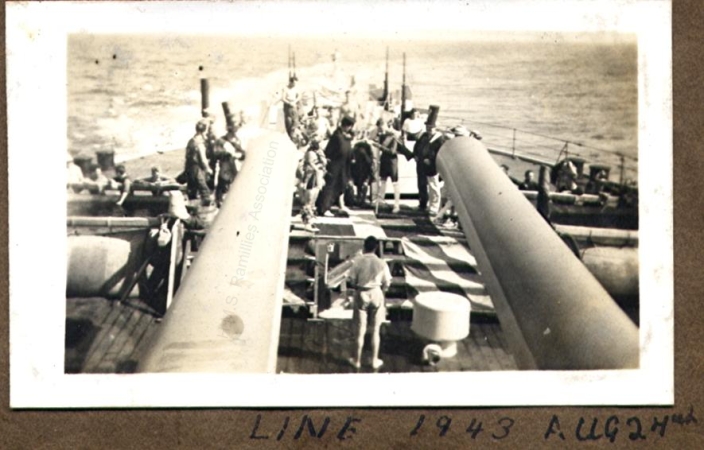
Crossing the Line Ceremony August 24th 1943
Photo Supplied by S/M Harold Ball
Photo Supplied by S/M Harold Ball
Another Line Crossing
Photo supplied by S/M Harold Ball
Photo supplied by S/M Harold Ball
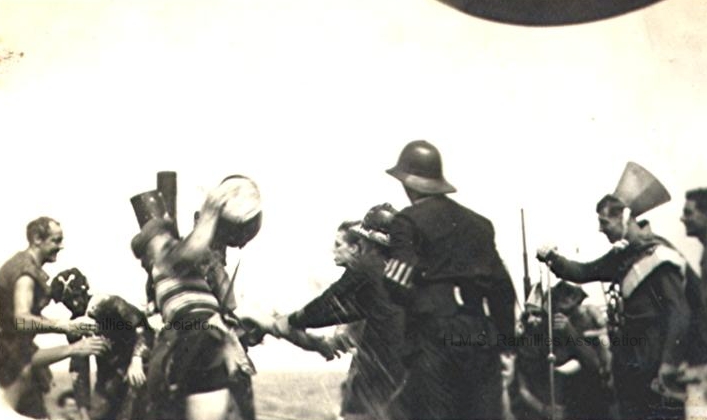
Another Crossing the Line Ceremony August 1943
Photo supplied by S/M Harold Ball
Photo supplied by S/M Harold Ball

And another Crossing the Line Ceremony taken August 1943
Photo supplied by S/M Harold Ball
Photo supplied by S/M Harold Ball
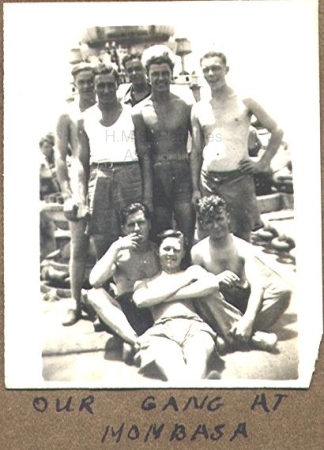
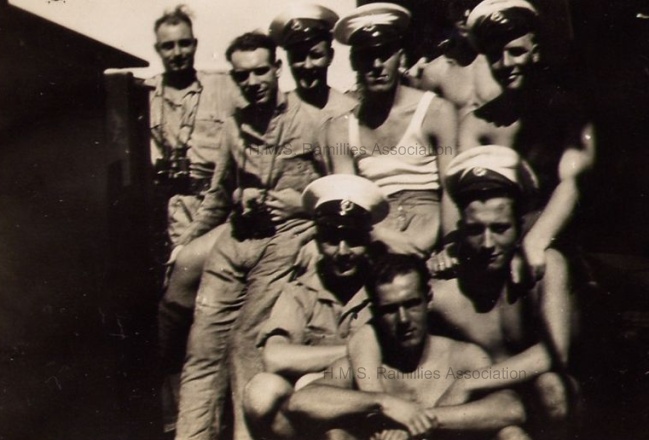
Our Gang at Mombasa 1943
Photo supplied by S/M Harold Ball
Photo supplied by S/M Harold Ball
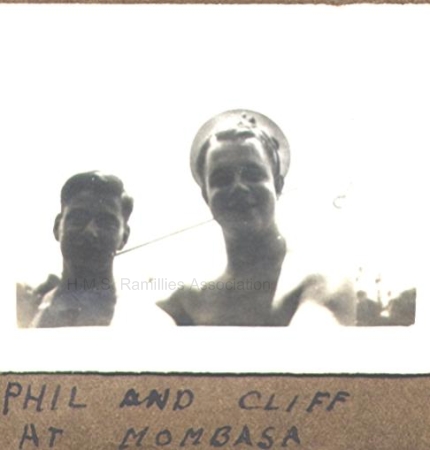
Phil and Cliff at Mombasa 1943
Photo supplied by S/M Harold Ball
Photo supplied by S/M Harold Ball
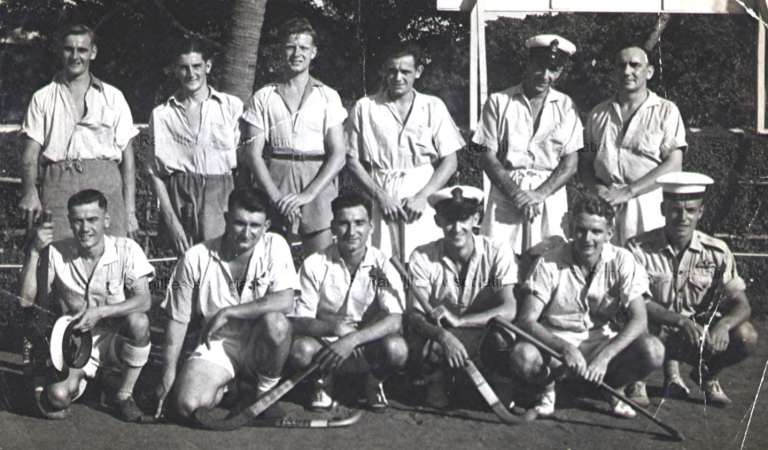
Ramillies Hockey Team 1. Any names or faces recognised here?
Photo supplied by S/M Harold Ball
Photo supplied by S/M Harold Ball

Rum Ration on Ramillies
Photo supplied by S/M Harold Ball
Photo supplied by S/M Harold Ball
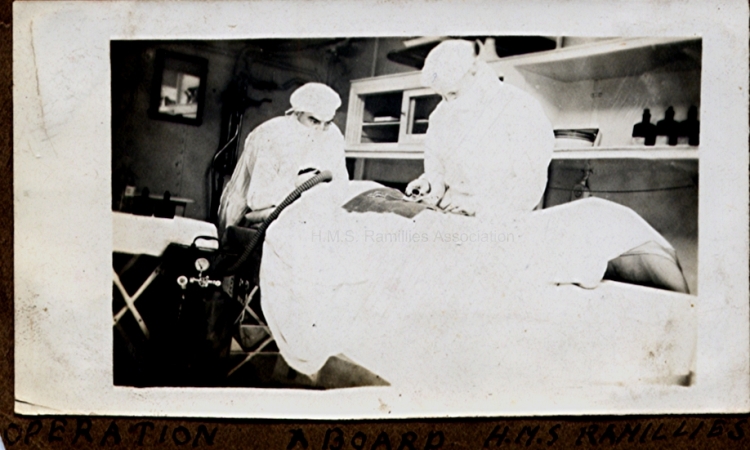
Sickbay. Operation in progress 1943
Photo supplied by S/M Harold Ball
Photo supplied by S/M Harold Ball
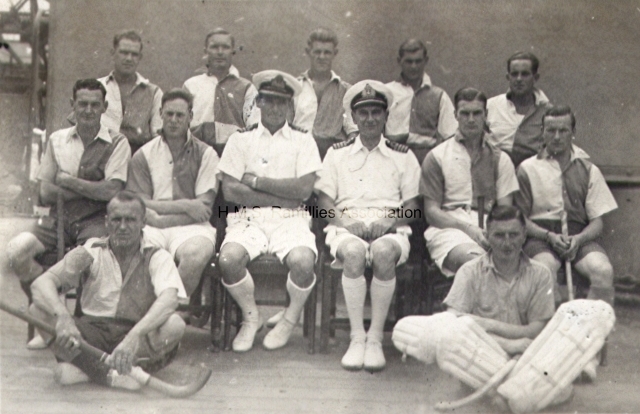
Rammy Hockey team picture 2
Photo supplied by S/M Harold Ball
Photo supplied by S/M Harold Ball

Stand Easy at Mombasa 1943
Photo supplied by S/M Harold Ball
Photo supplied by S/M Harold Ball
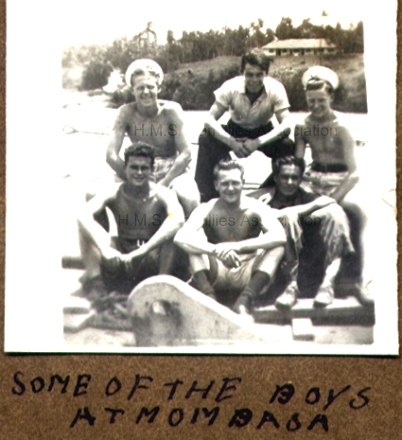
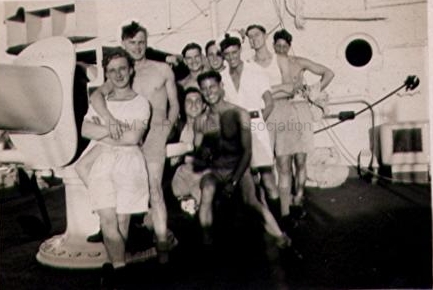
Some of the Lads at Mombasa 1943
Photo supplied by S/M Harold Ball
Photo supplied by S/M Harold Ball
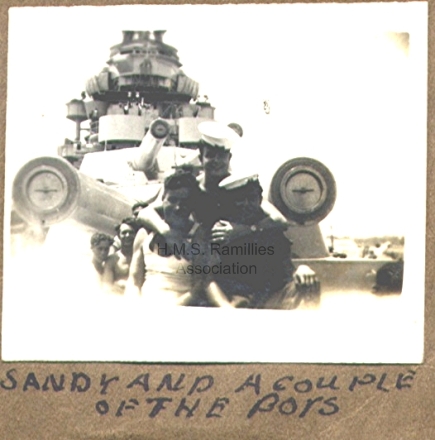
Sandy and a couple of the Boys, Mombasa 1943
Photo supplied by S/M Harold Ball
Photo supplied by S/M Harold Ball
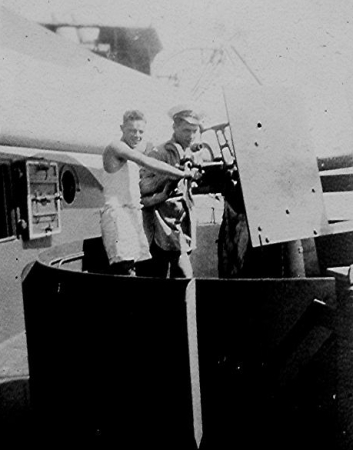
2 Royal Marine Gunners, on Ramillies at Madagascar
R.M. Jack Bennison, showing shrapnel damage sustained in action against the Italians, In the Med
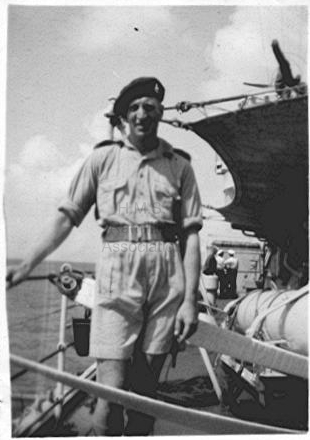
R.M. Jack Bennison,in tropical uniform, aboard Ramillies 1943
Ramillies Sailing Crew, Corsica 1945, with R.M. Jack Bennison. Recognise anyone else?

Stkr George Cosstick with Shipmates Sid Horner & Bert Shepard
Photo Donated by Richard Cosstick
Photo Donated by Richard Cosstick
George Cosstick in centre.
Photo Donated by Richard Cosstick
Photo Donated by Richard Cosstick
Bert Sheppard on left hand side, Sid Horner next to him
Photo Donated by Richard Cosstick
Photo Donated by Richard Cosstick
George Cosstick on left hand side facing.
Photo Donated by Richard Cosstick
Photo Donated by Richard Cosstick
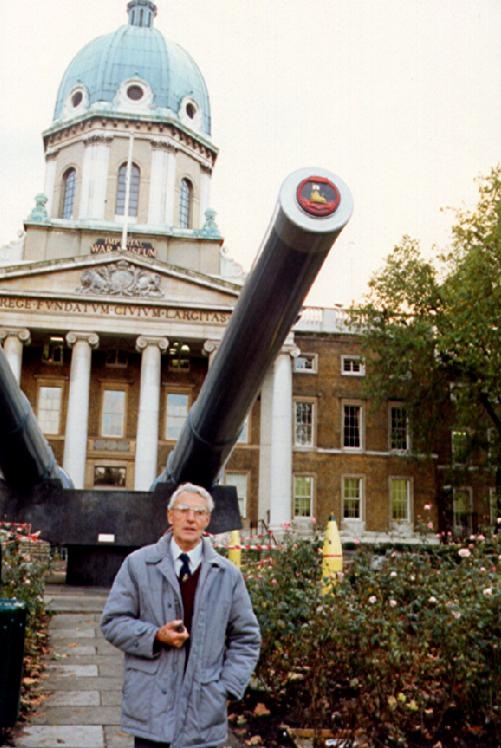
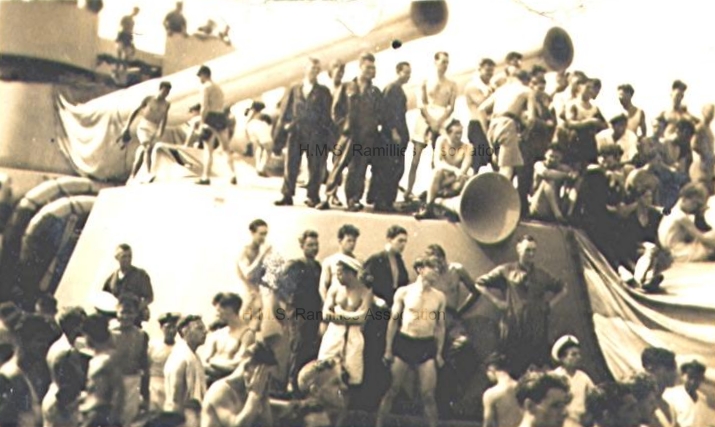
'Topsy' Turner, under HMS RAMILLIES gun barrel Imperial War Museum
Photo supplied by Mrs Sylvia Turner
Photo supplied by Mrs Sylvia Turner
The Late Bob 'Topsy' Turner
Photo supplied by Mrs Sylvia Turner
Photo supplied by Mrs Sylvia Turner
UP SPIRITS crew receiving the Rum ration
King George 6th Leaving Ramillies after inspection before D-Day 1944

Piping Officer on Deck
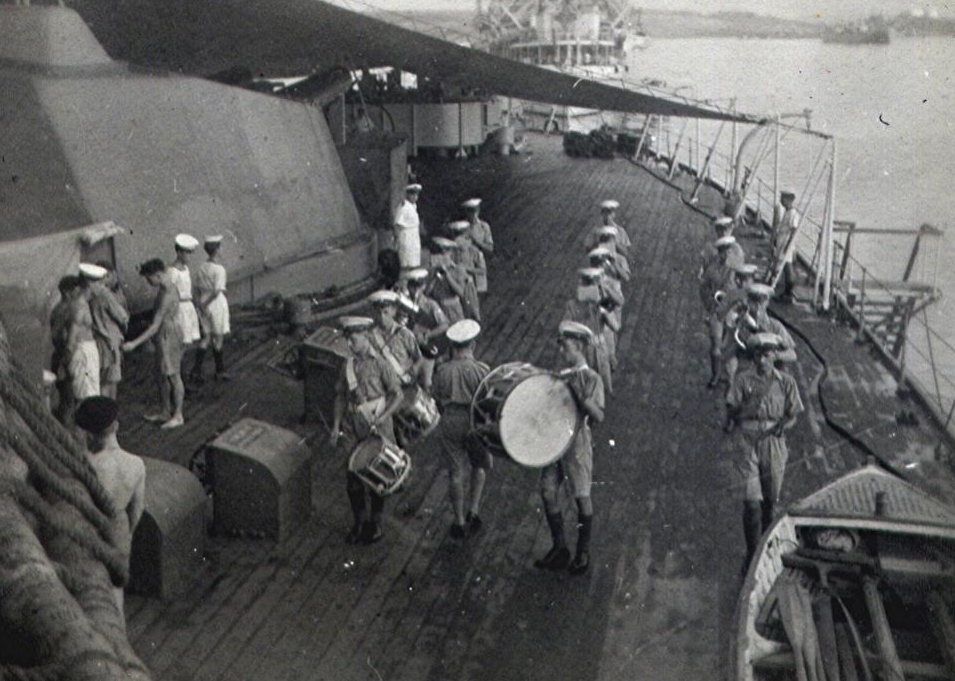
Royal Marine Band at practice, Mombasa

A view aft at Mombasa
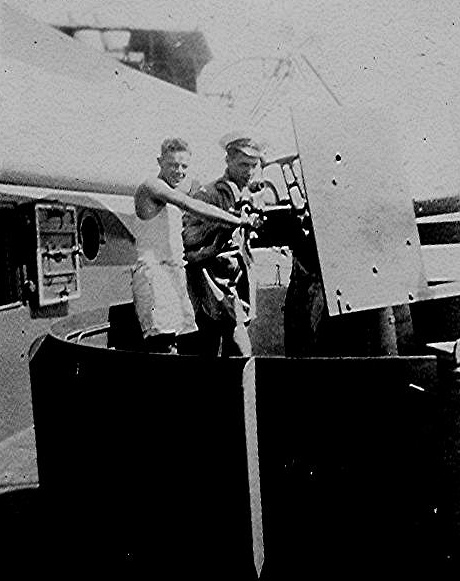
Royal Marine Gunners at Gunnery practise
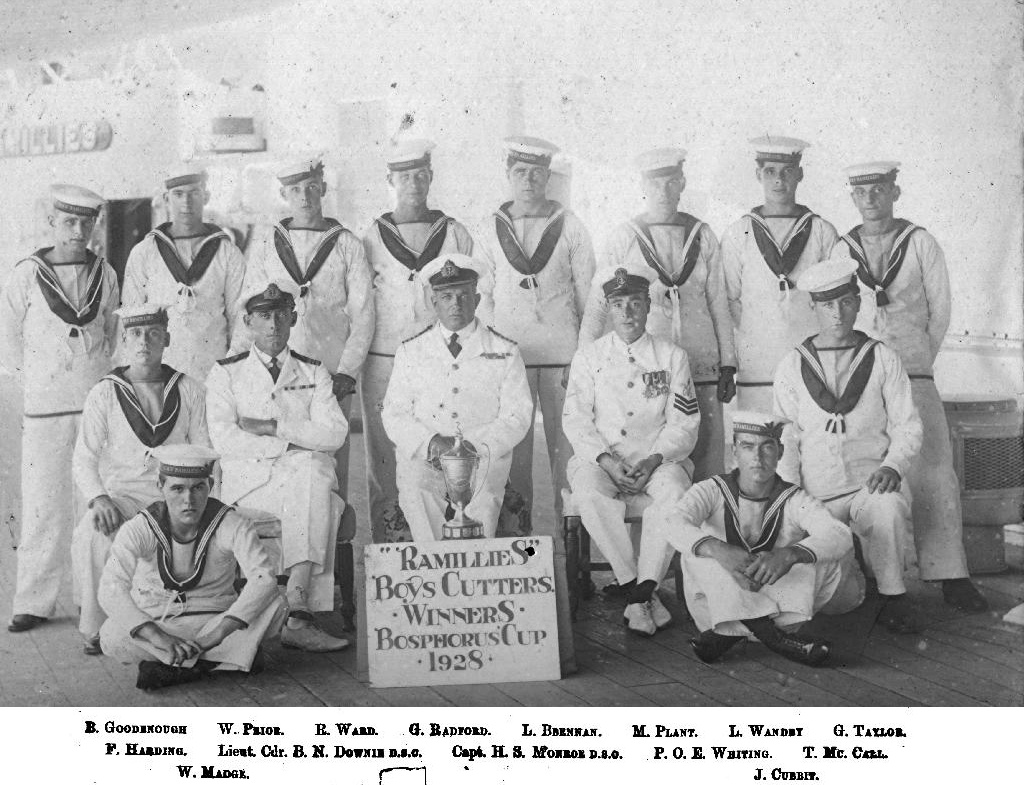
Boys Cutter Winners Bosphorus Cup 1928
Photo supplied by Mrs E.Jervis
Photo supplied by Mrs E.Jervis
Crossing the Line
In memory of David John McCulloch R.M.
In memory of David John McCulloch R.M.
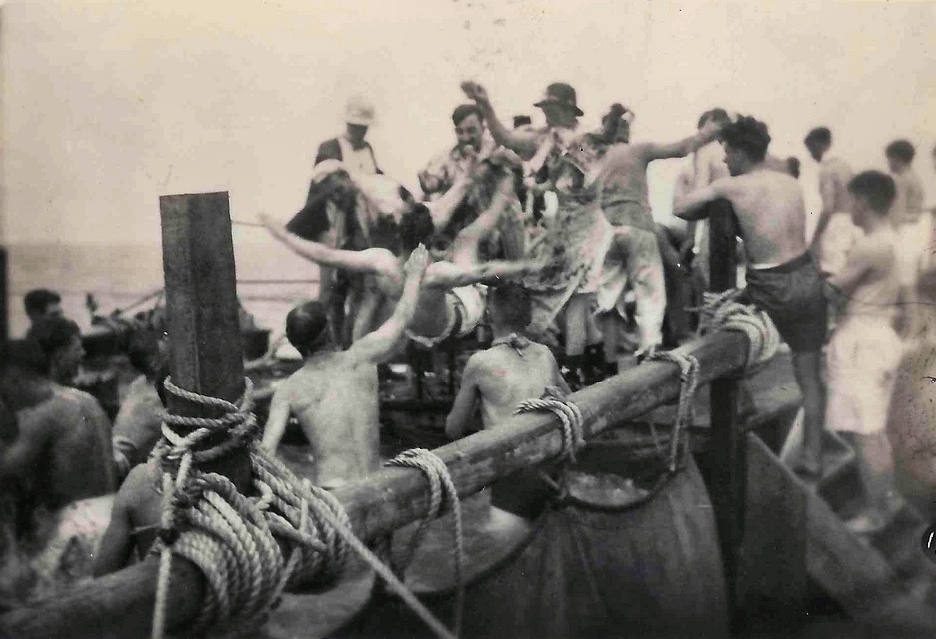
Donking in Crossing the Line Ceremony
In memory of David John McCulloch R.M.
In memory of David John McCulloch R.M.
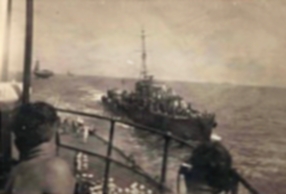
Destroyer possibly HMS ANTONY, and two Carriers, OPERATION IRONCLAD, at Diego Saurez
In memory of David John McCulloch R.M.
In memory of David John McCulloch R.M.
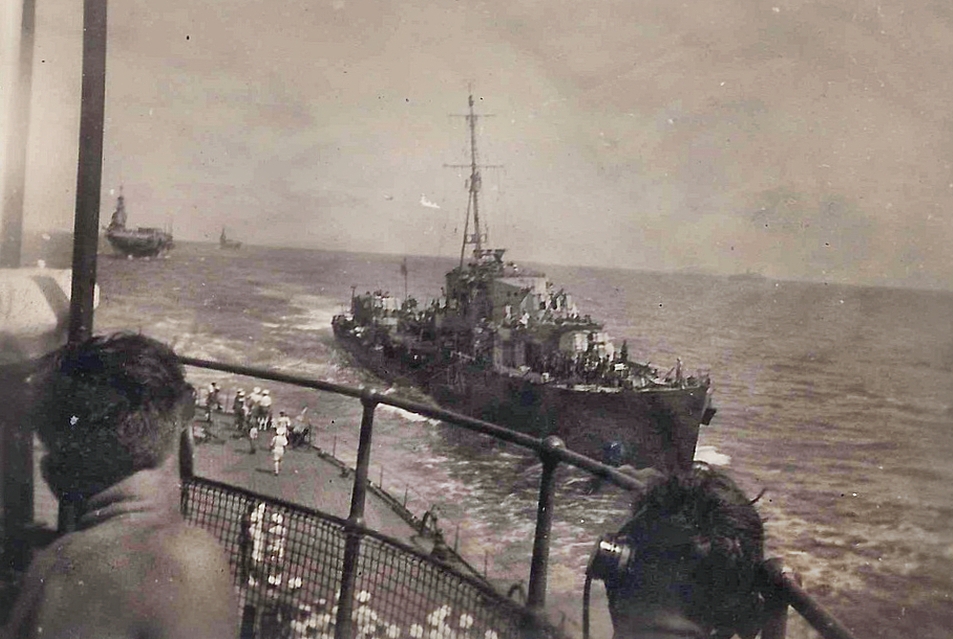
Destroyer possibly HMS ANTONY, and two Carriers, OPERATION IRONCLAD, at Diego Saurez
In memory of David John McCulloch R.M.
In memory of David John McCulloch R.M.
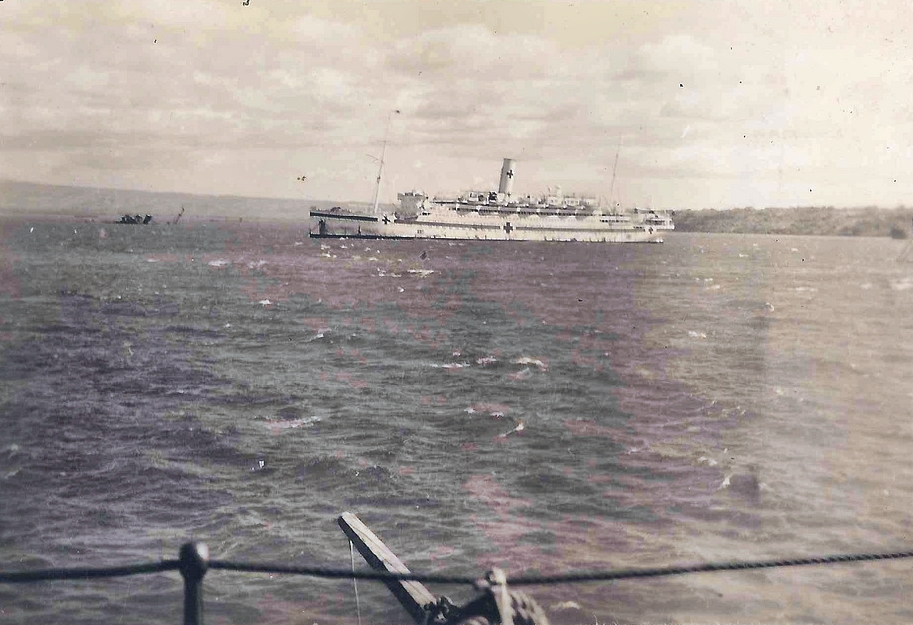
Hospital Ship at Diego Saurez, Operation Ironclad. Showing torpedoed British Tanker
In memory of David John McCulloch R.M.
In memory of David John McCulloch R.M.
Another crossing the line dunking.
Popeye, and young crew members. Recognise anyone?
Another of Neptune's victims.
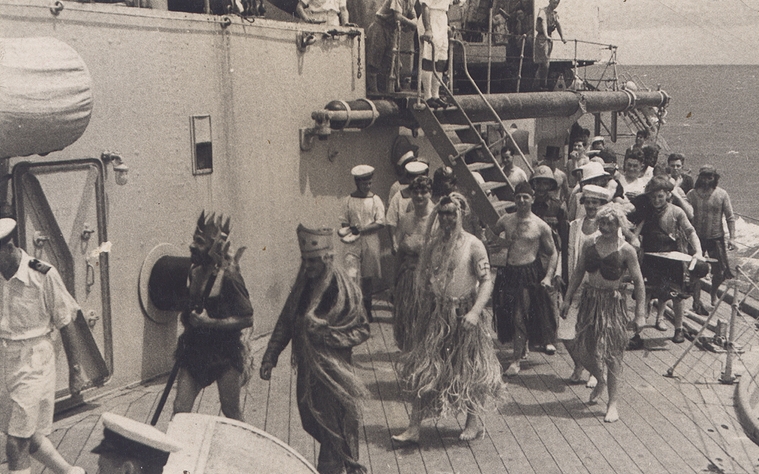
Neptune Himself and his escorts.
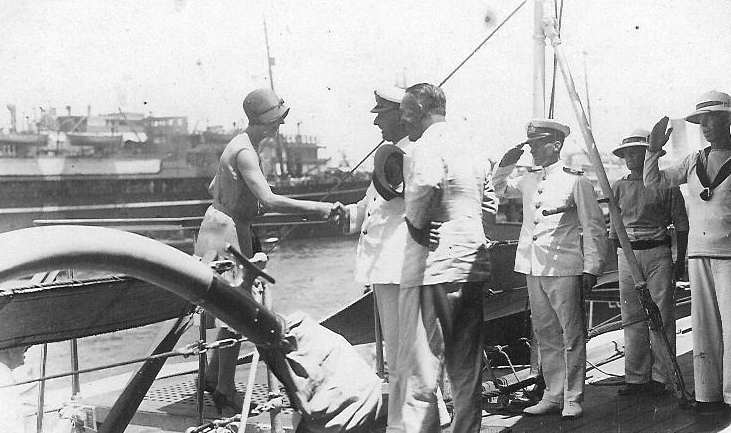
Officers receiving Lone Woman Pilot AMY JOHNSON aboard.
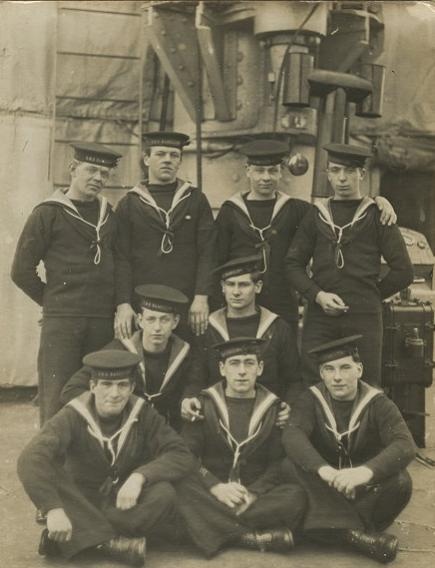
Early Ramillies Crew.

Loading 15inch shells weighing 1 ton each.
Neptune Rises from the Deep crossing the line ceremony.
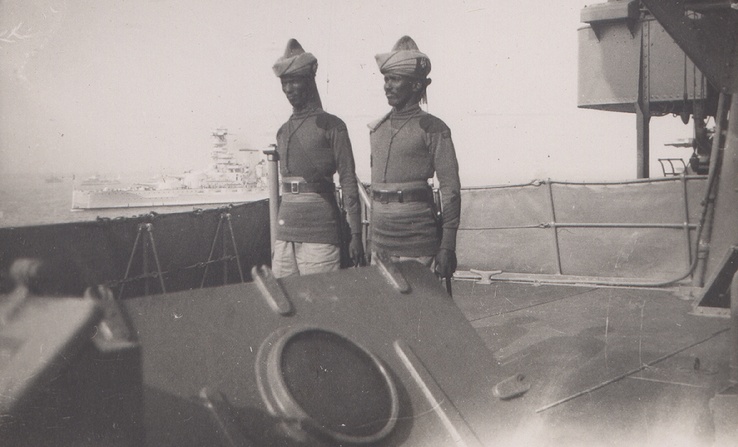
Queens Camel Corps members aboard during Summer Cruise 1937.
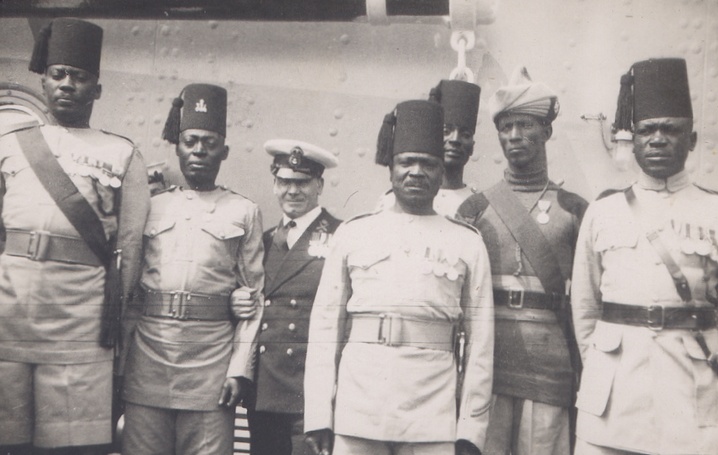
Colonial Visitors on board during the Summer Cruise 1937.
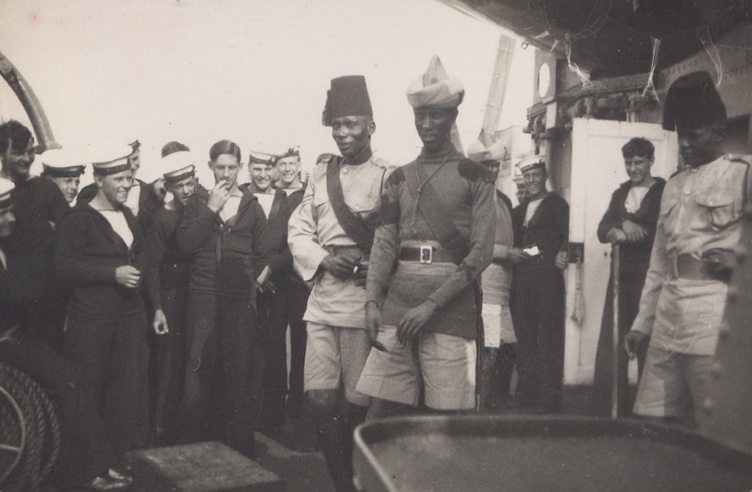
Kings African Rifles aboard during Summer Cruise 1937.
George Henry Wilson (aka 'Tug Wilson'), 2nd from left top row.
Photo courtesy of Andrew Wilson, son.
Photo courtesy of Andrew Wilson, son.
George Henry Wilson (aka 'Tug Wilson').
Photo courtesy of Andrew Wilson, son.
Photo courtesy of Andrew Wilson, son.
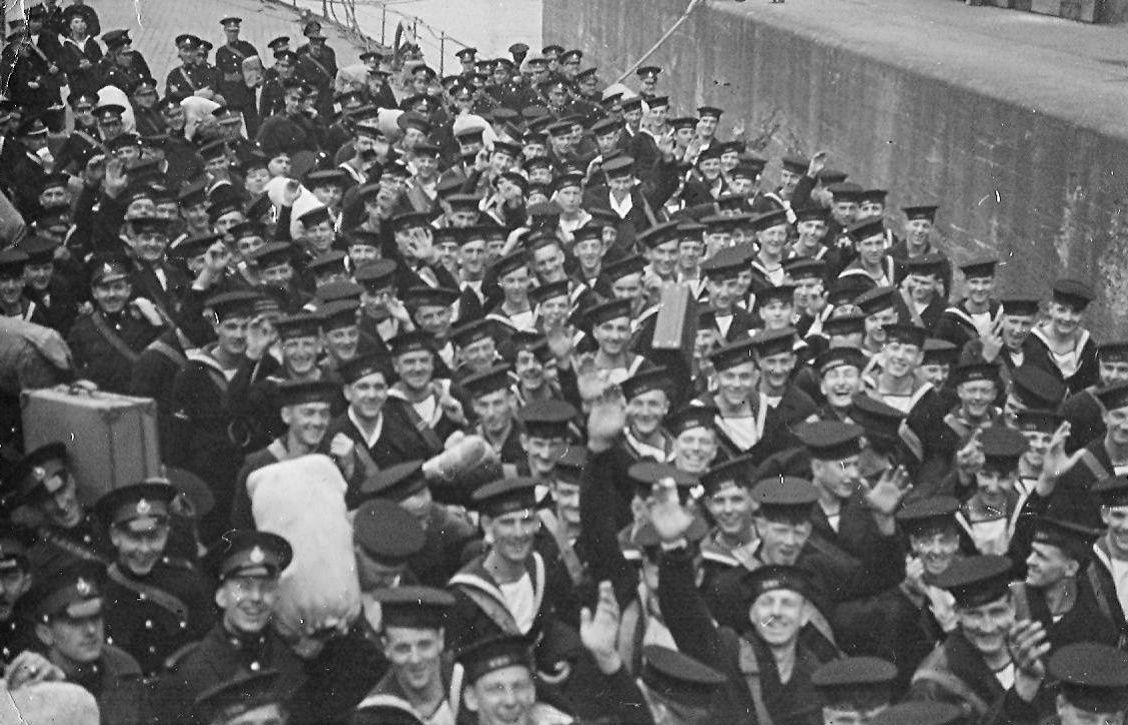
Coming Home on Leave, Liverpool 1941.
Photo courtesy of Andrew Wilson
Photo courtesy of Andrew Wilson
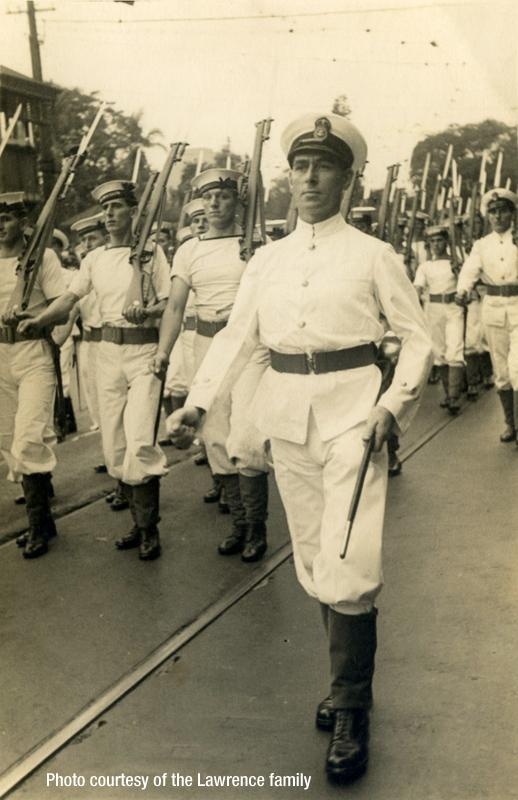
CPO Francis Lawrence, Sydney Australia 1940.
Photo courtesy of The Lawrence Family.
Photo courtesy of The Lawrence Family.
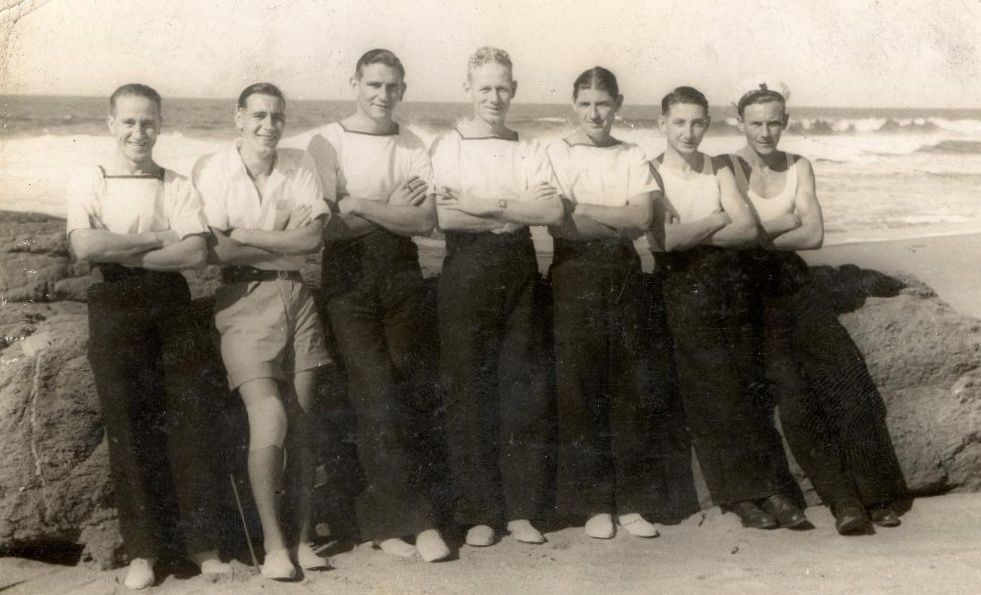
Ashore Durban, R.C. Armstrong 3rd from Right.
Photo supplied by N. Armstrong (grandson).
Photo supplied by N. Armstrong (grandson).
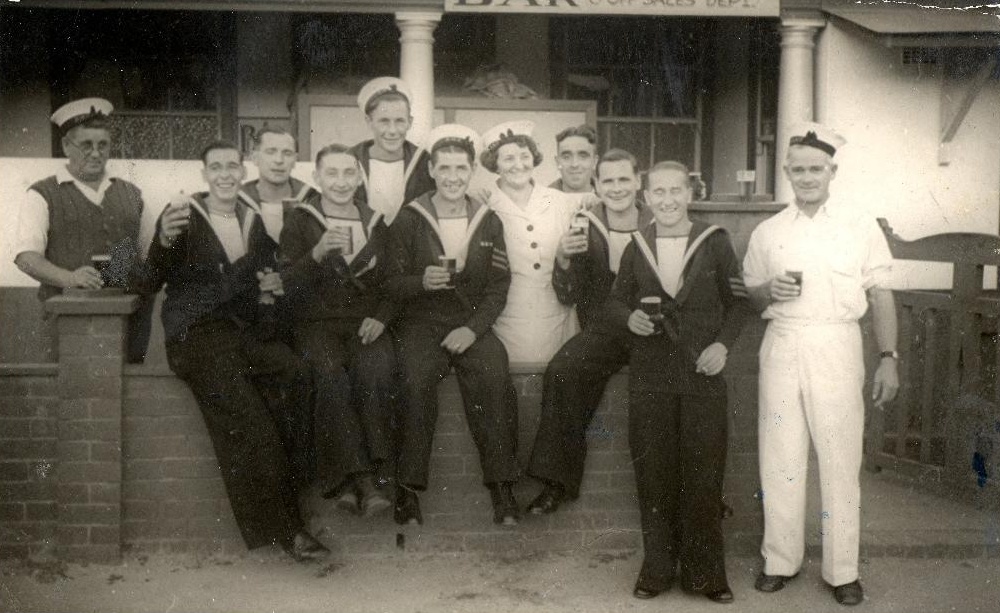
A drink with the bar staff Scotburgh Nr. Durban 1942 R.C. Armstrong centre.
Photo supplied by N. Armstrong (grandson).
Photo supplied by N. Armstrong (grandson).
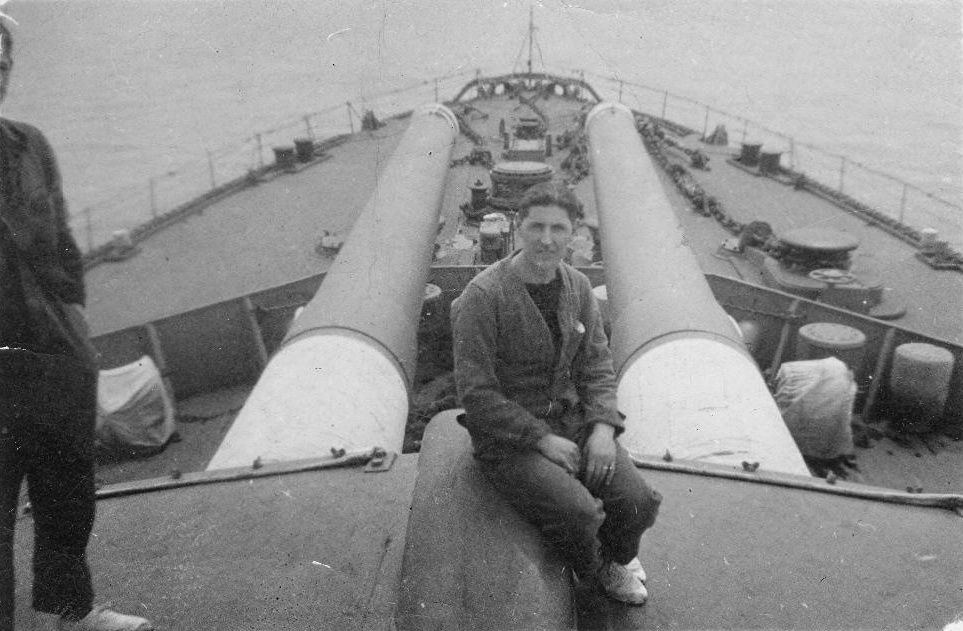
R.C.Armstrong 'A' Turret, Indian Ocean 1942.
Photo supplied by N. Armstrong (grandson).
Photo supplied by N. Armstrong (grandson).

R.C Armstrong and friends 'A' Turret, Indian Ocean 1942.
Photo supplied by N. Armstrong (grandson).
Photo supplied by N. Armstrong (grandson).
R C Armstrong & Shipmates Indian Ocean 1942.
Photo supplied by N. Armstrong (grandson).
Photo supplied by N. Armstrong (grandson).
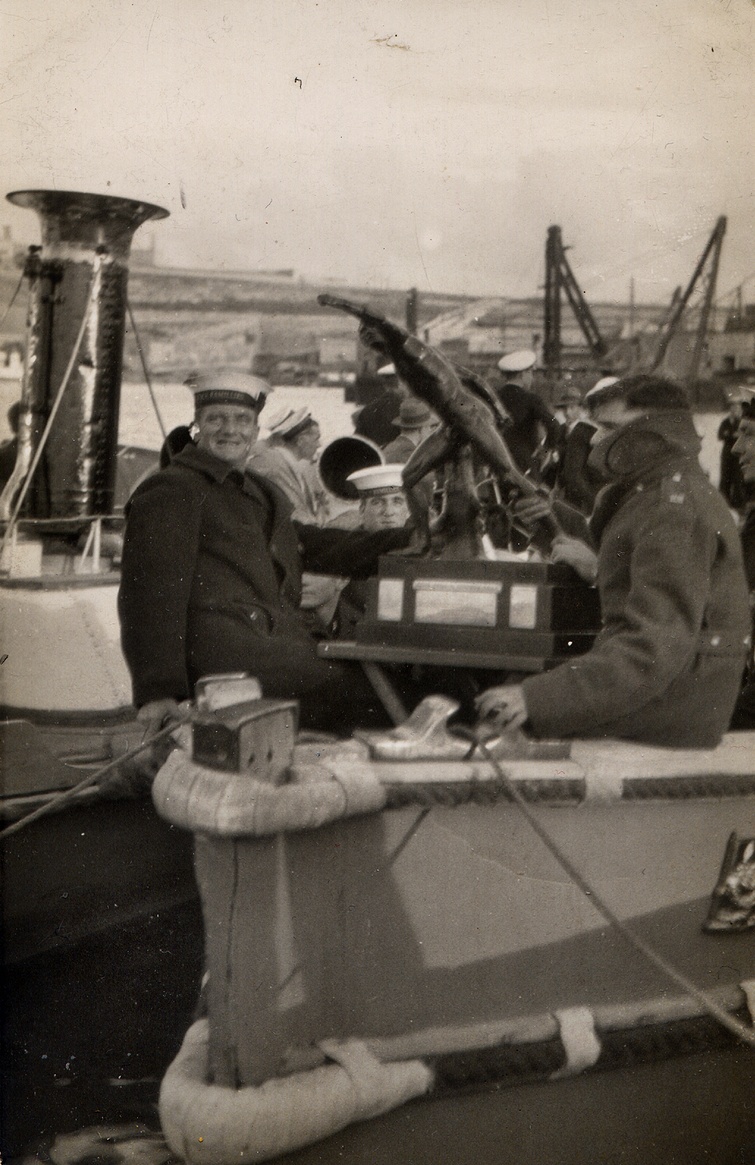
The boat deck. Note the steam pinnace
Clearing Ice near Nova Scotia.
Photo supplied by S/M Ron Lamming.
Photo supplied by S/M Ron Lamming.

Ships cat at Malta.
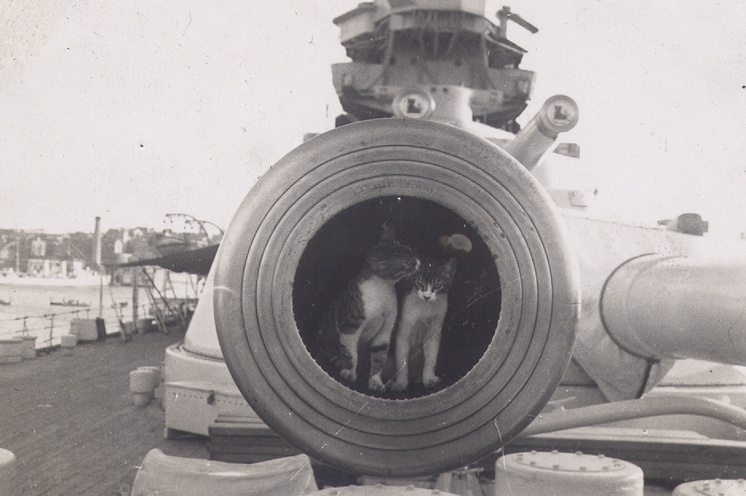
Two ships cats at Malta.
P. Baker, Ginger Ellison & Jonny Walker aboard Ramillies.
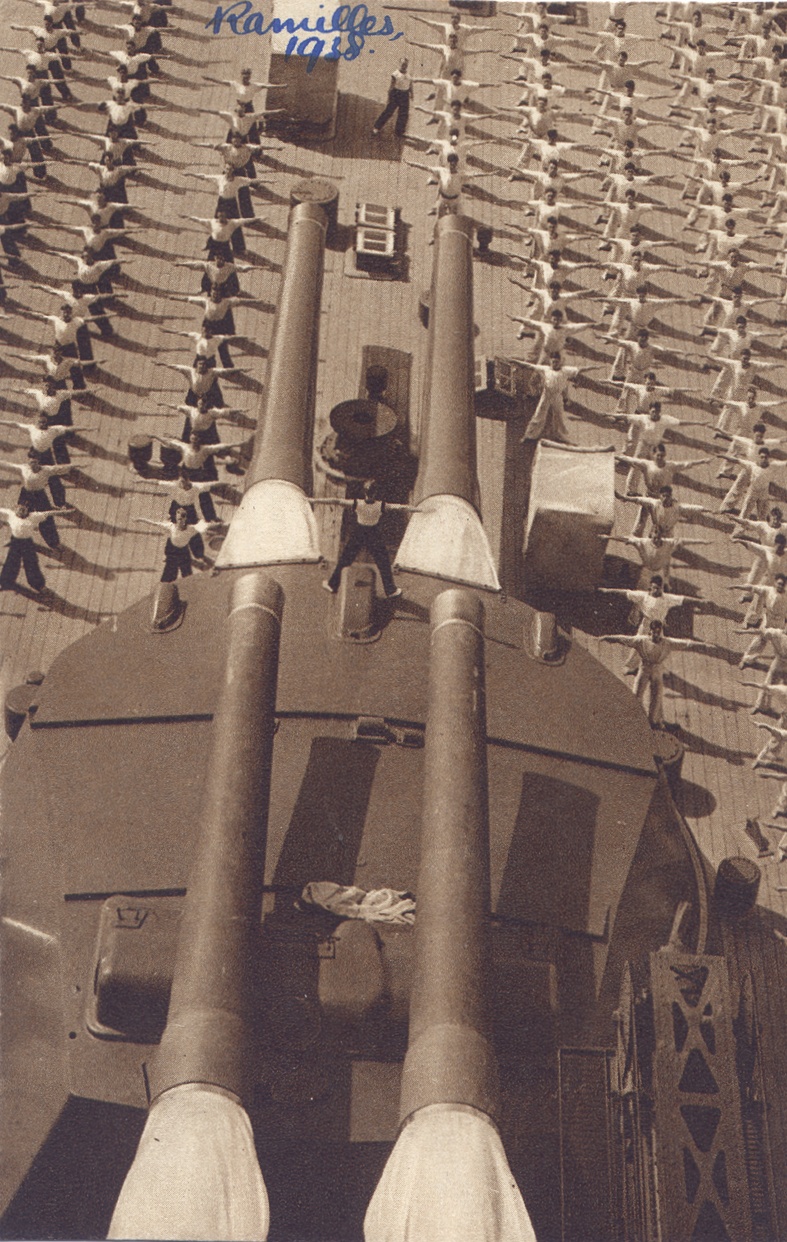
Exercise on Deck 1938.
Pay Parade-Cap Off!.
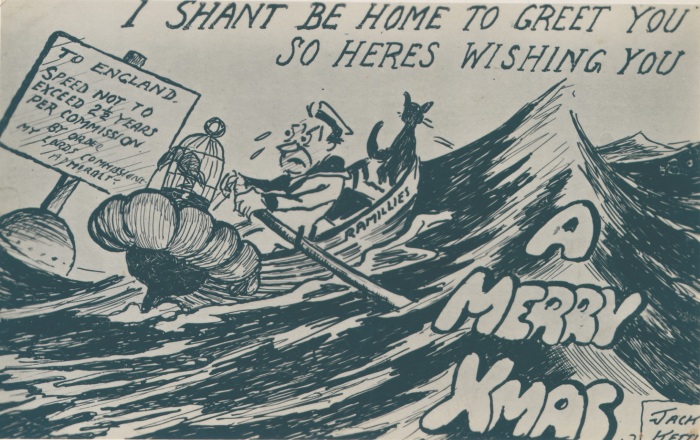
Ramillies Comedy Christmas Card by Jack Kettle.
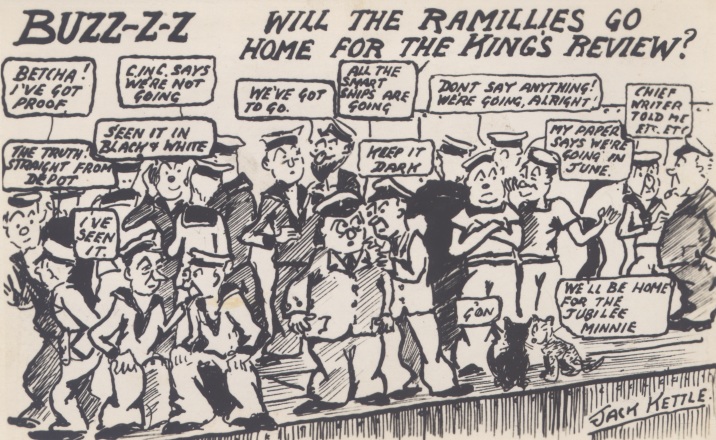
What's the Buzz?
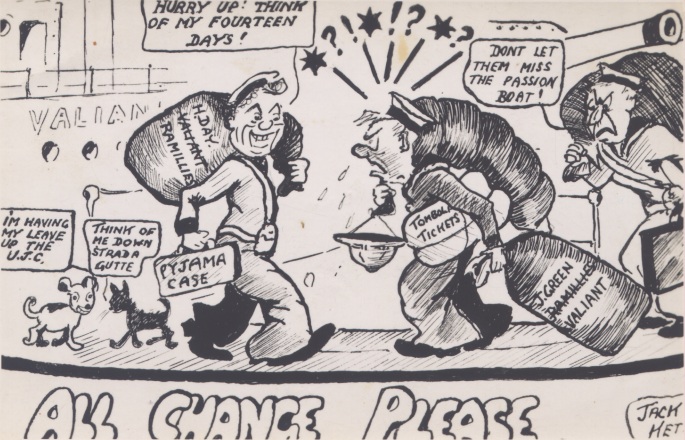
Crew Change.
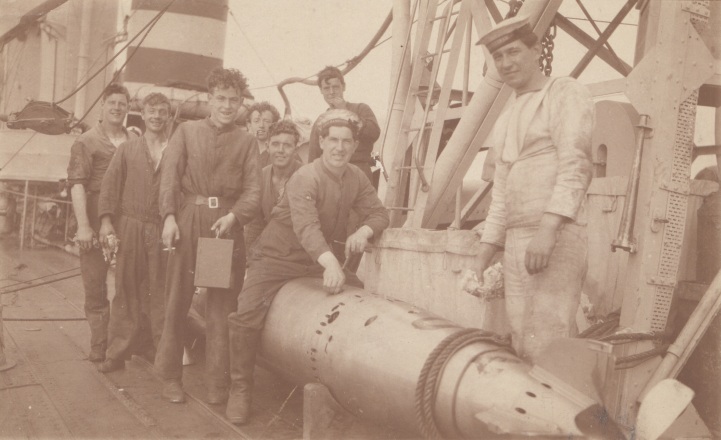
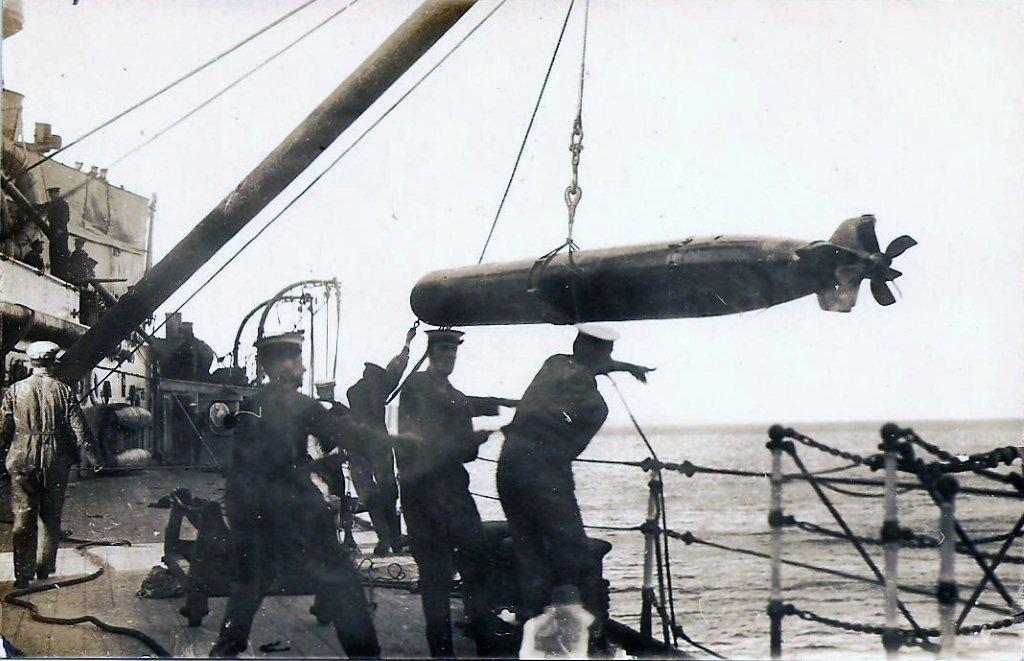
Torpedo Crew & Torpedo 1930s.
Memorial Service at Malta.
Supplide by S/M K Williams.
Supplide by S/M K Williams.
S/M Ken Williams Yeoman of Signals.
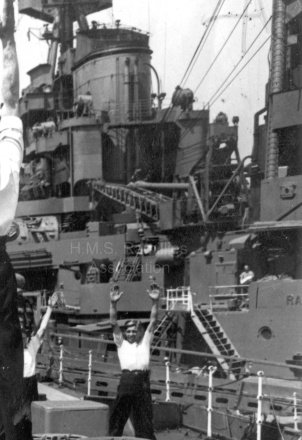
Churchill waving Farewell to H.M.S. Ramillies, after his visit aboard.
Royal Marine Group aboard Ramillies c1920s.
Torpedo Recovery Practise.
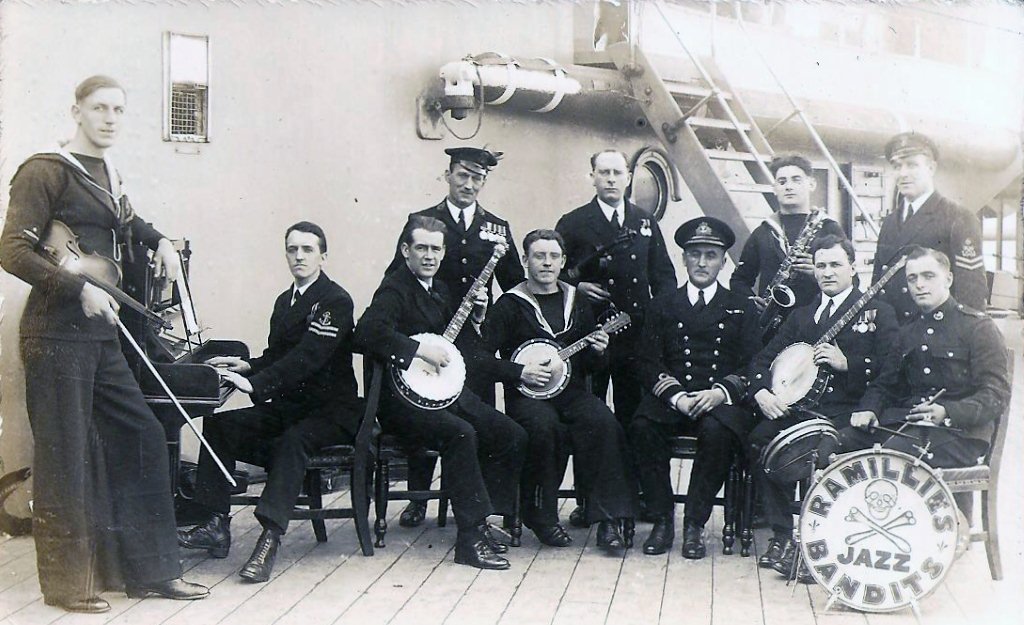
Ramillies Jazz Bandits.
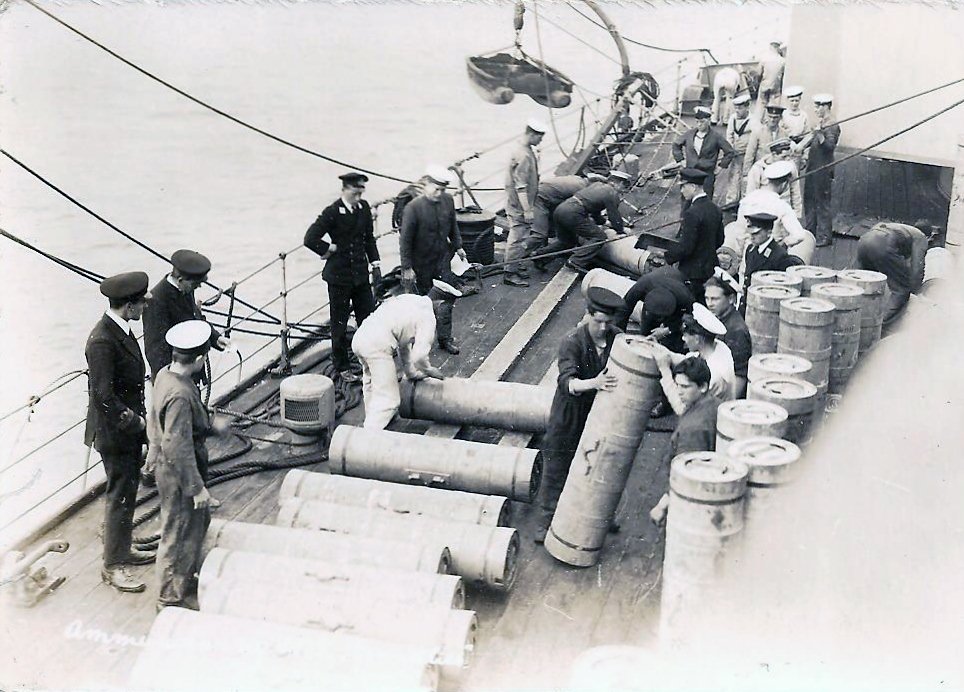
Loading and Storing Cordite Cartridges aboard Ramillies.

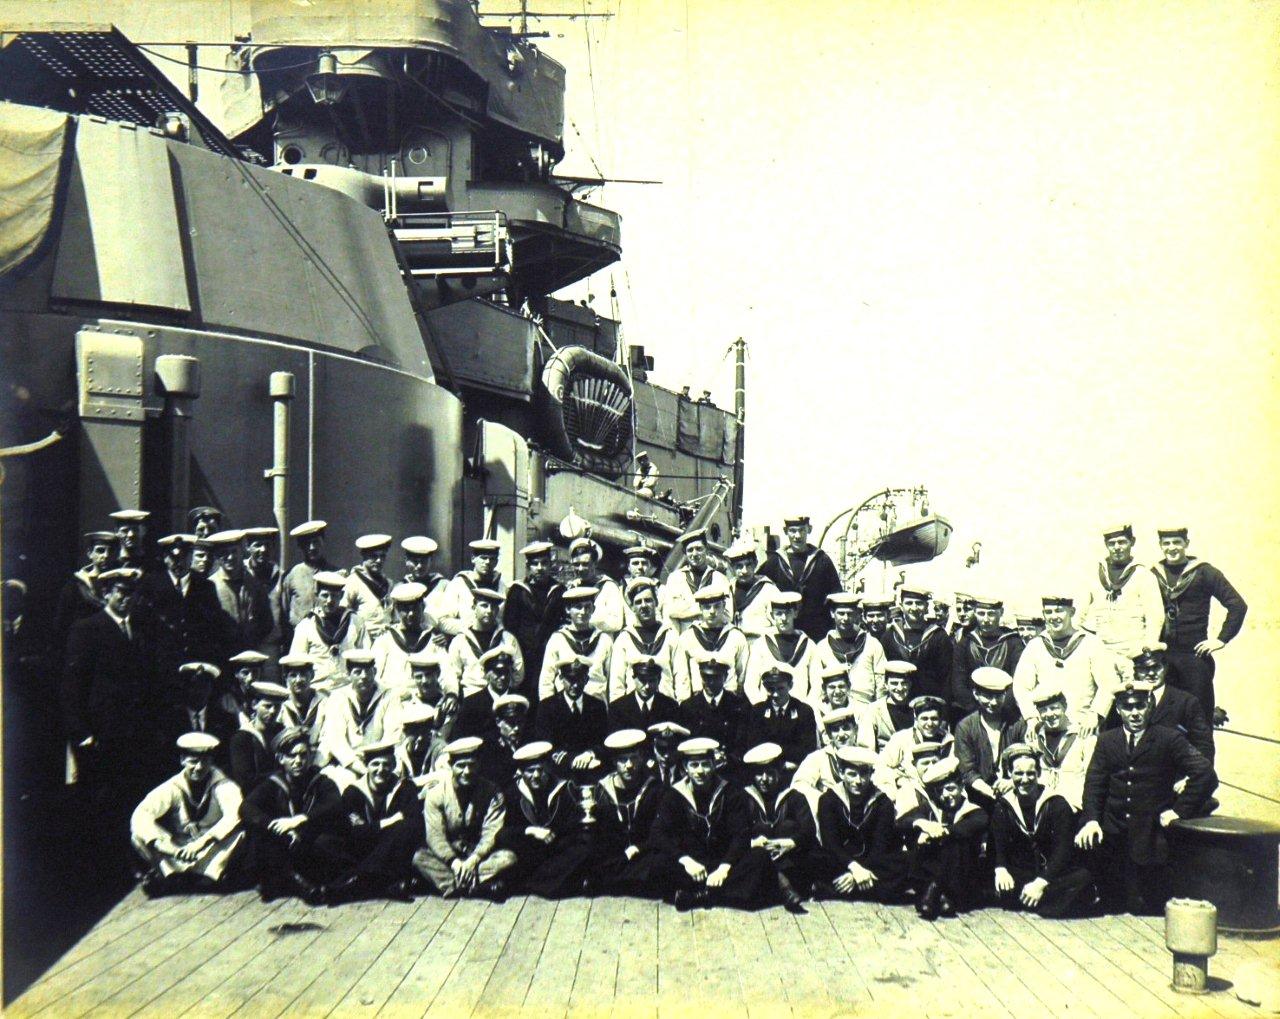
Ramillies Royal Marine Cutters Crew, Winners of the Cock of the Fleet Trophy.
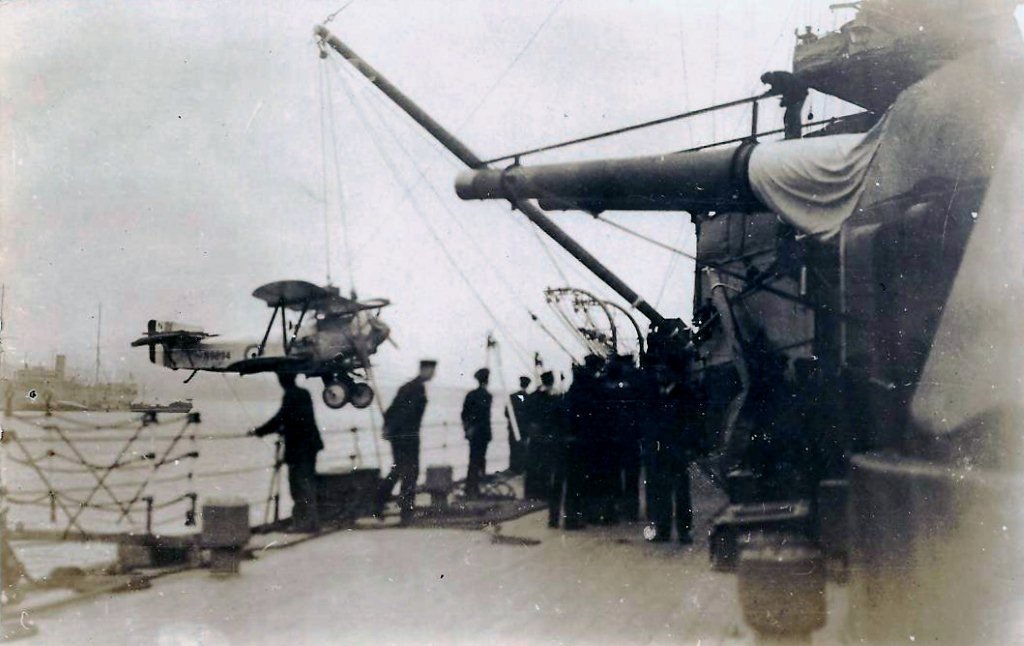
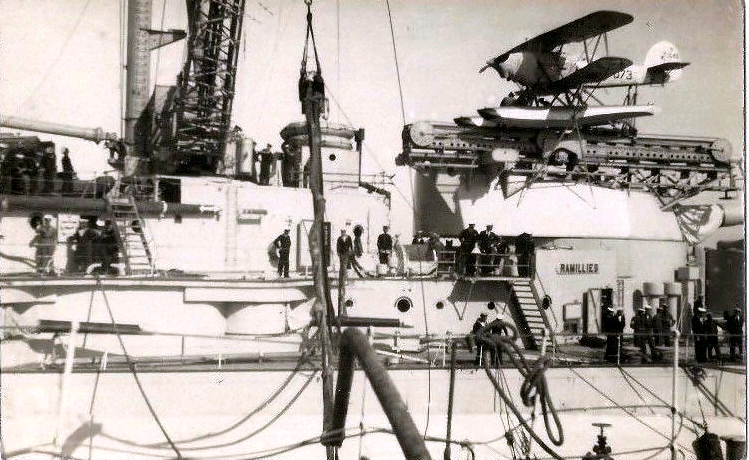
Recovery of Ramillies Aircraft 1920s.
H.M. The King aboard Ramillies at Scapa Flo prior to D-Day
Photo Courtesy of S/M Keith Whiting
Photo Courtesy of S/M Keith Whiting
Late 1920s Crew.
Photo courtesy John Banasiak USA
Photo courtesy John Banasiak USA

15inch Breech Mechanism.
Photo courtesy of the Southurst Collection
Photo courtesy of the Southurst Collection
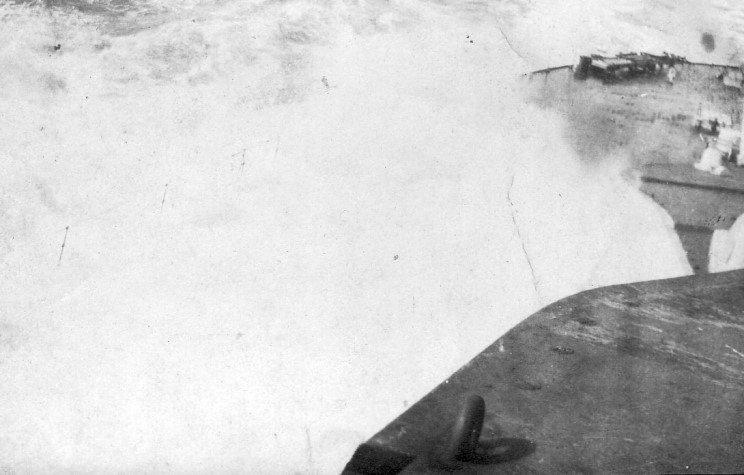
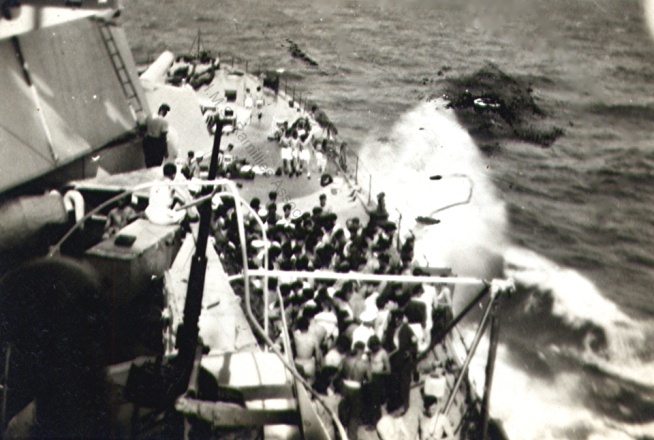
VERY Rough Seas.
Photo courtesy of the Southurst Collection
Photo courtesy of the Southurst Collection
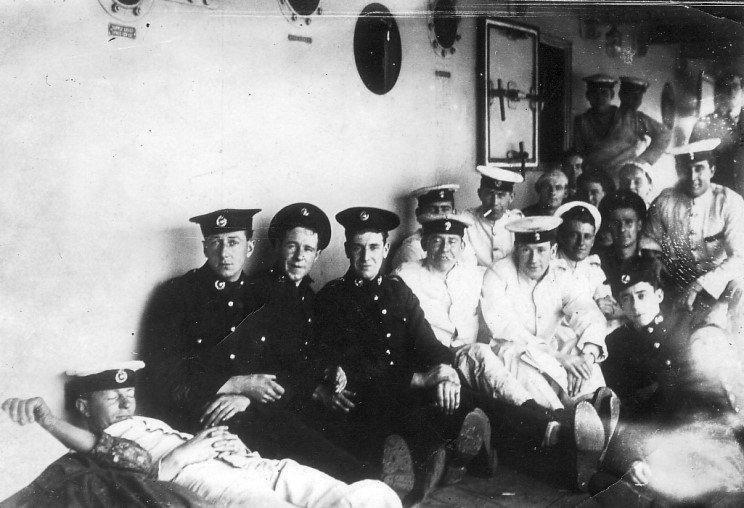
1st World War Crew.
Photo courtesy of the Southurst Collection
Photo courtesy of the Southurst Collection
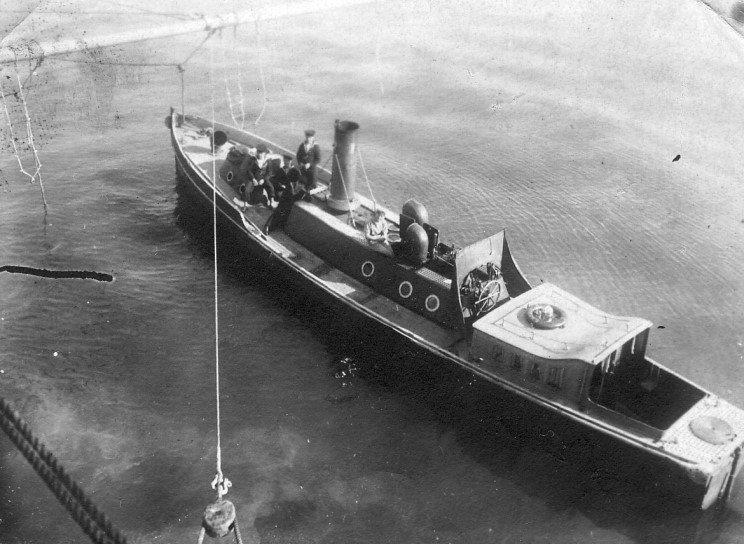
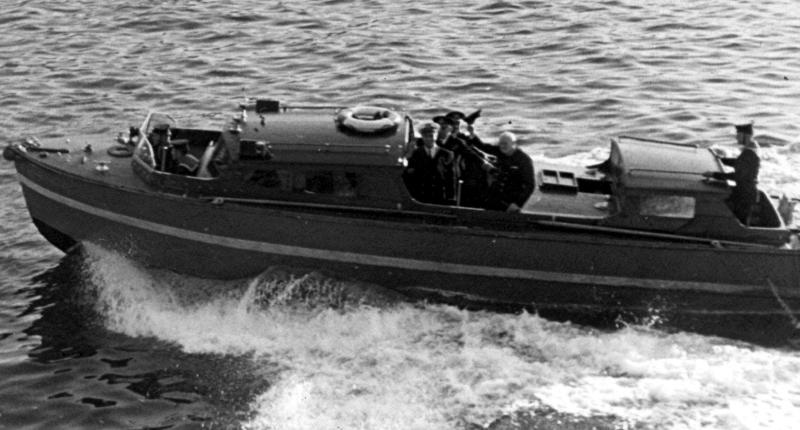
Ramillies Steam Pinnace and Crew.
Photo courtesy of the Southurst Collection
Photo courtesy of the Southurst Collection
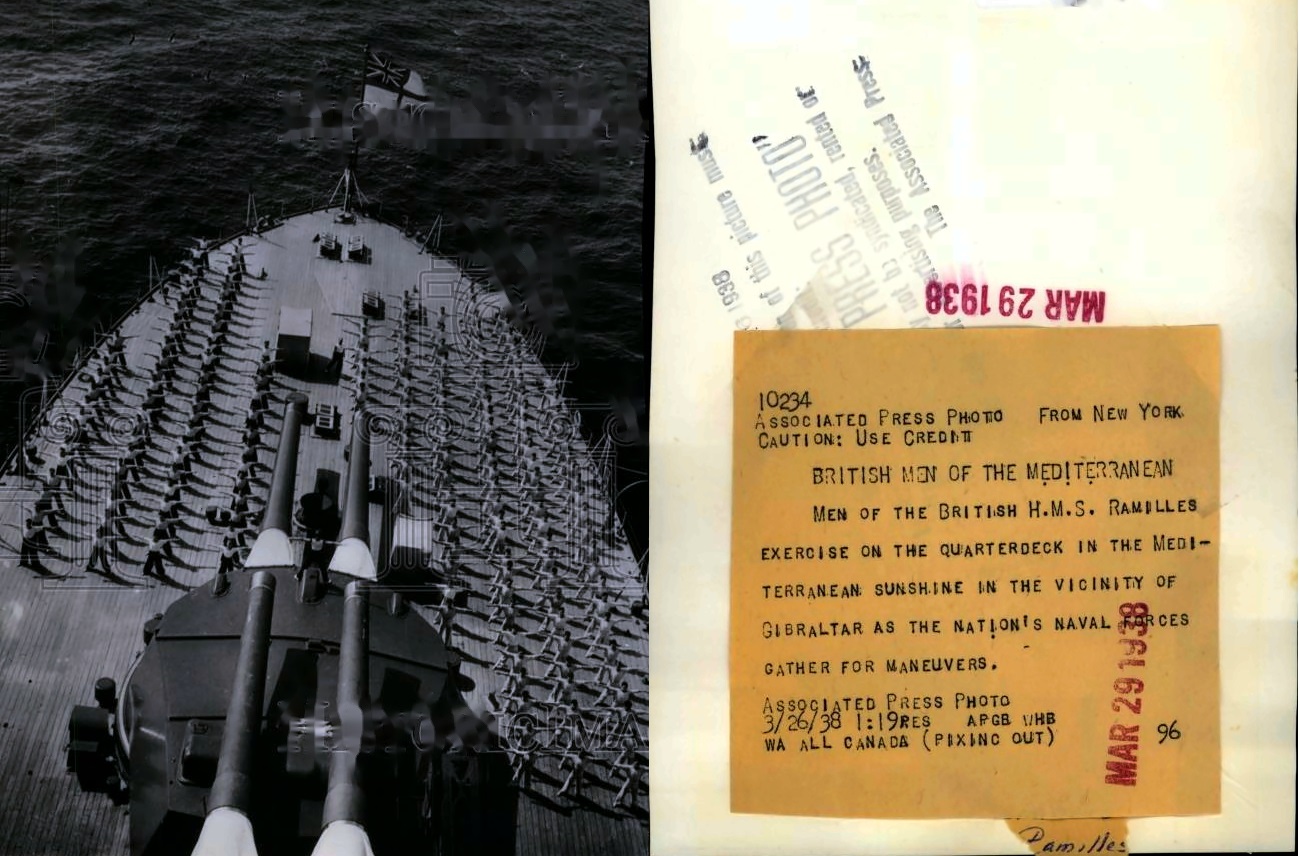
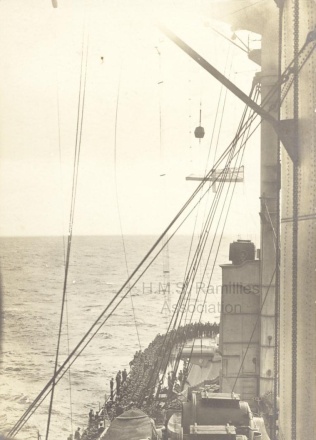
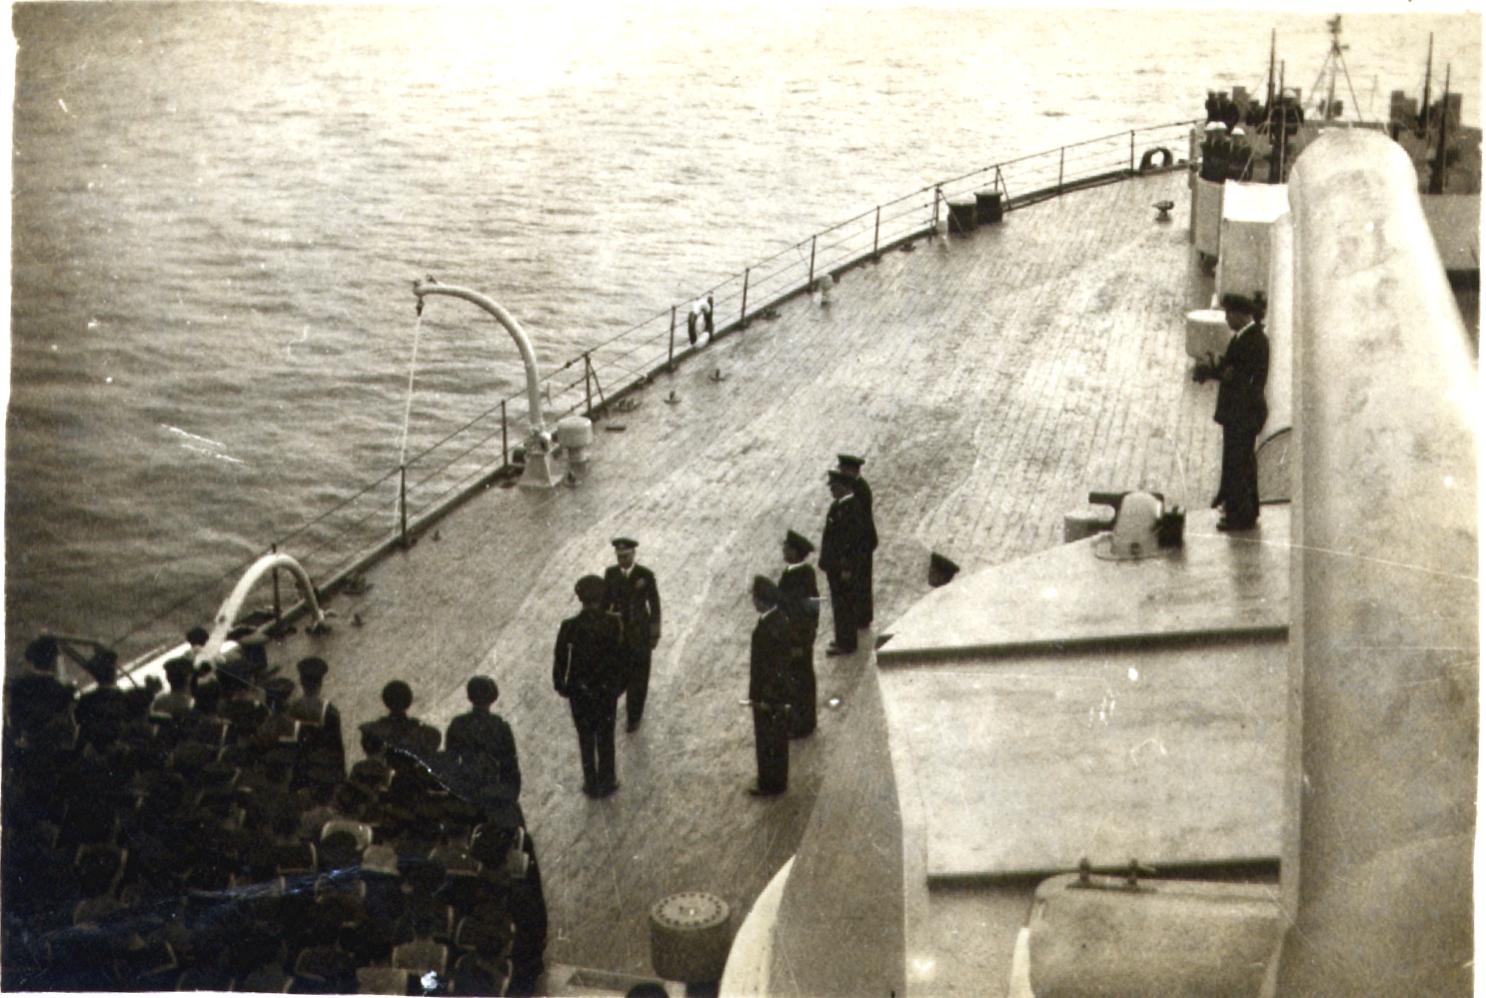
Exercise on the quarterdeck
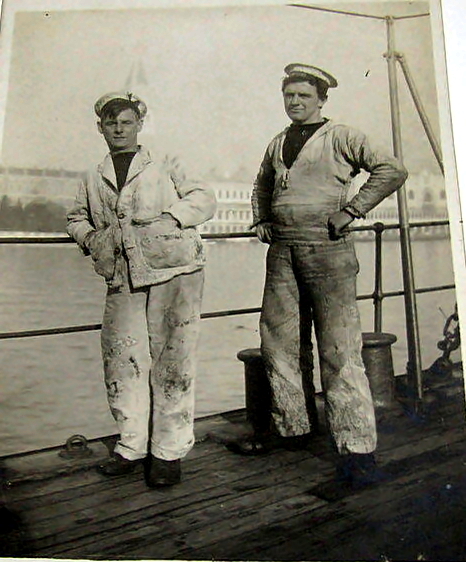
Painters aboard Ramillies 1920s

Kings visit to Ramillies 1918
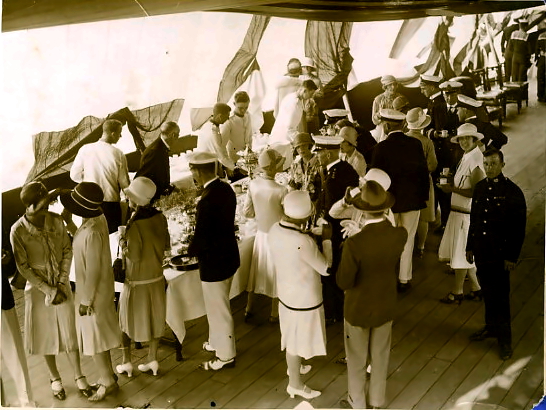
Tea Dance aboard Ramillies Cowes 1920
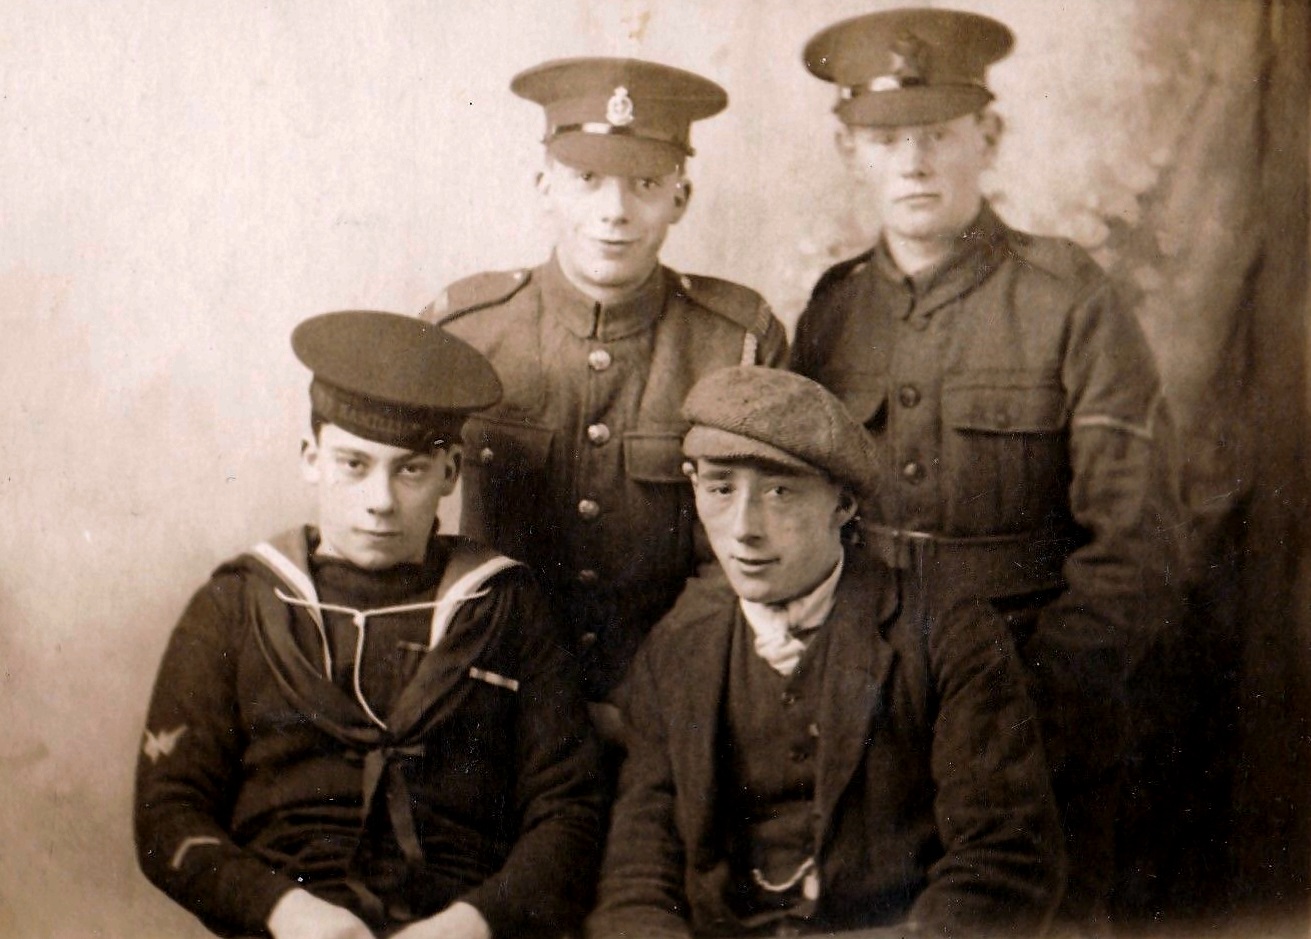
A Ramillies Crew Member in 1981
Shore leave 1931
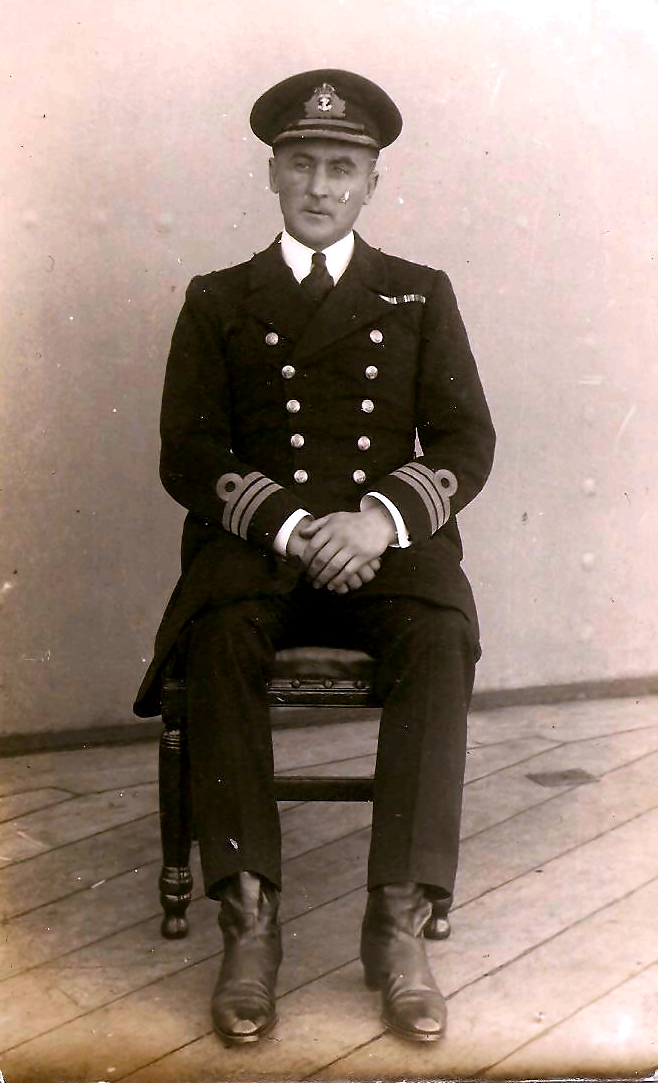
Commander Wilfred Lunn R.N. of Ramillies
Bringing fuel Lines aboard Ramillies while at sea (Rasing)
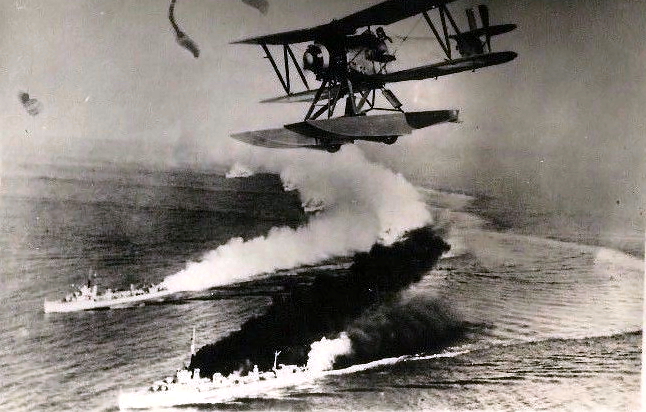
Ramillies Aircraft ofer destroyers making a smoke screen